Use the excavation road tool,

This panel pops up and hit the new road button in the upper right corner
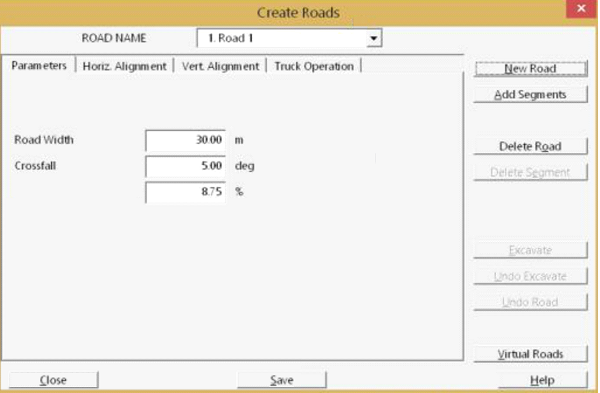
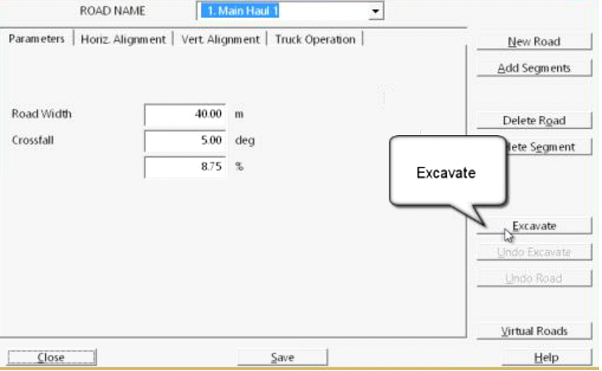
The first panel is the parameters you can rename the road and adjust the road with and the cross-section slope (crossfall) of the road. A negative number will make a drainage profile if you are trying to excavate a drainage.
Next tap is the Horizontal Alignment
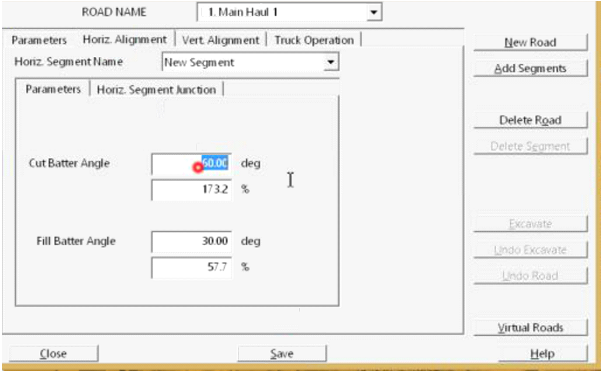
Here is where you specify the angle of repose of the cut and fill areas. The horiz segment lets you adjust how curves will be designed based on a radius or circular curve.
Now you can select the Add segments in the upper right-hand corner. The panel will go away and you can digitize the location of the road you want to design. Left clicking to add points and right click to exit the tool.
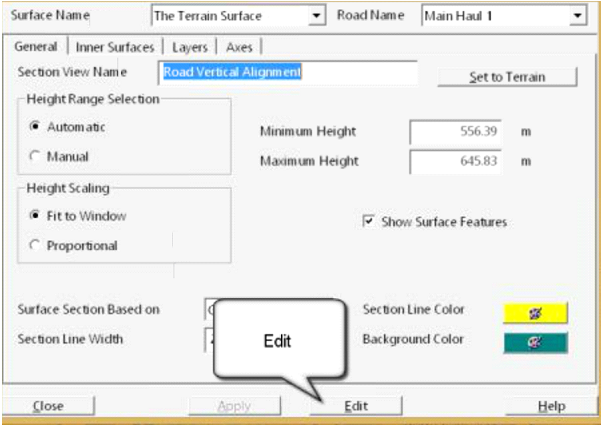
Now you can go to the Vertical Alignment tap and select the Set Vertical Alignment button and the cross sections window appearance panel will pop up
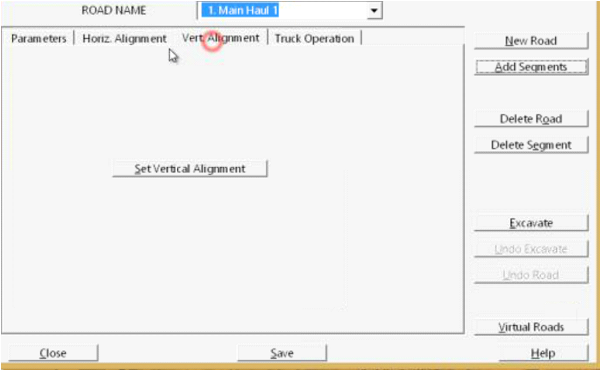
The cross section pops up and you can adjust thing for a cross section view, then hit the Edit button
Now you can move the points of the blue or purple line to the vertical alignment you want. You can add points by dragging the points. The slope, % or degree off the slope will show up at the bottom of the screen. You can also add a point by left clicking on the line to have a few different slopes
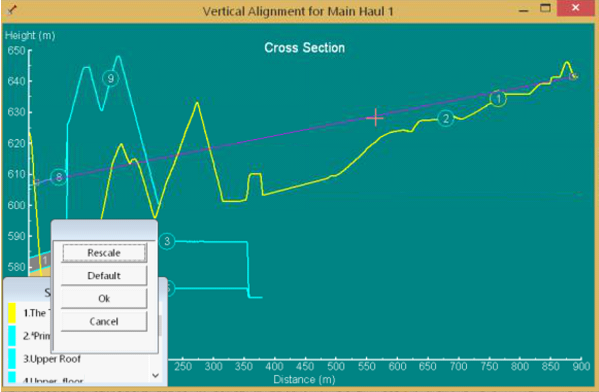
When you have it the way you want you can exit out of this save the road excavation panel and hit the excavation button. It will create the ramp or drainage. The material log will show how much is cut and how much is fill.