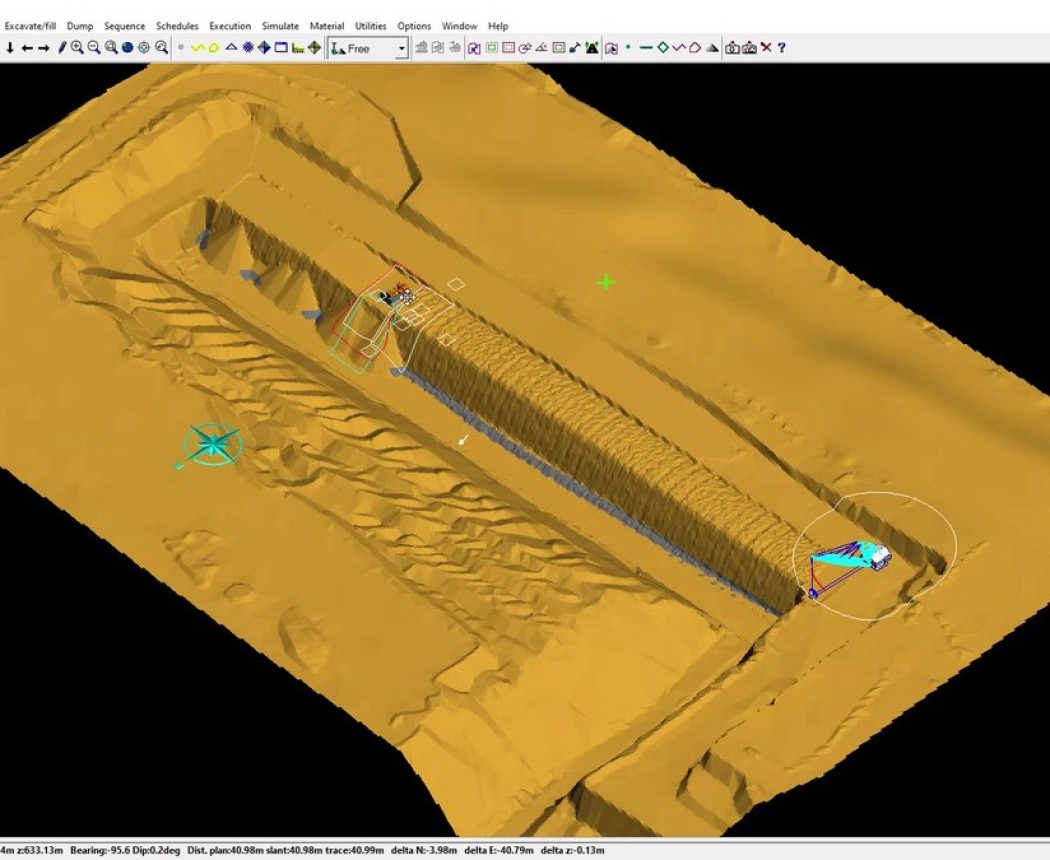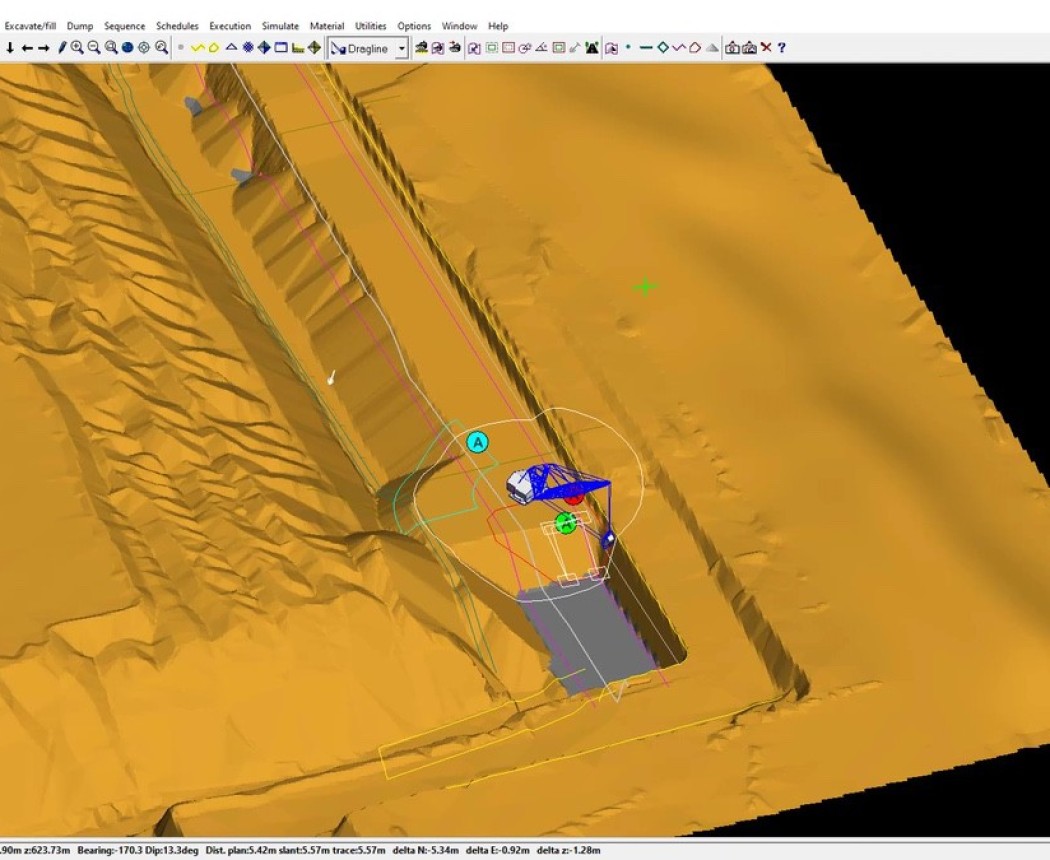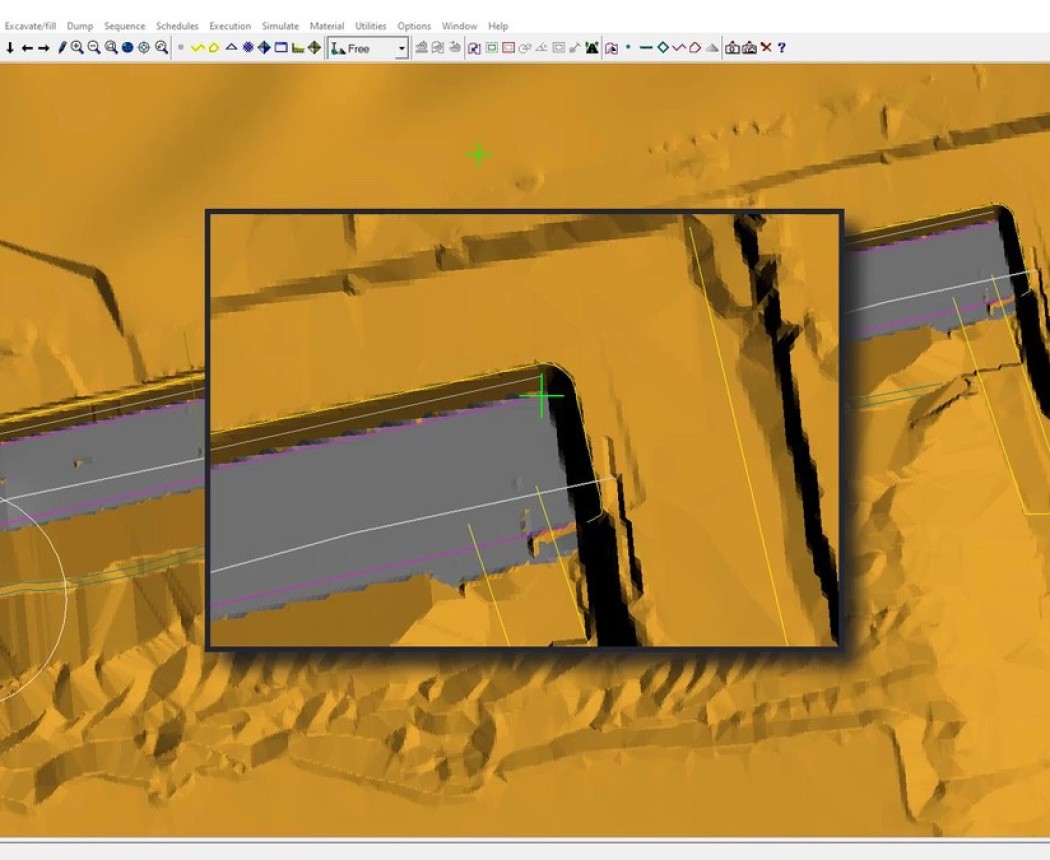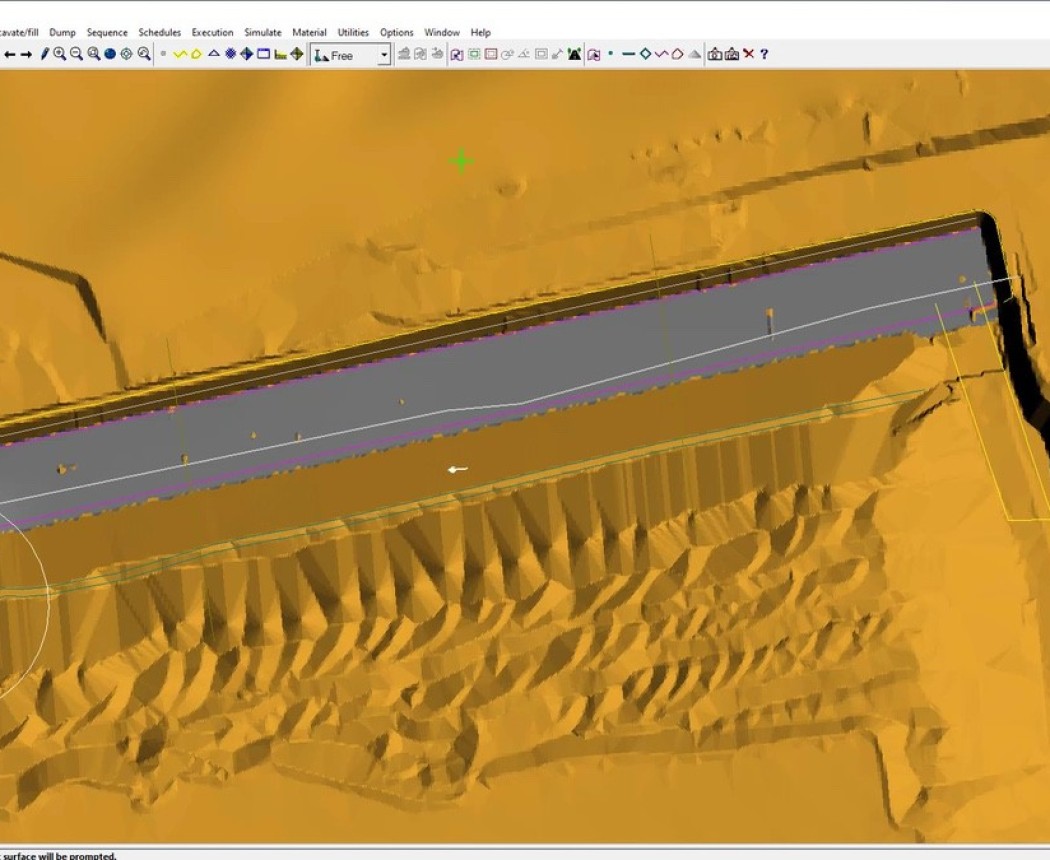
3D-Dig Single-Step Dragline Simulation
This course will introduce you to using 3D-Dig for Dragline Simulation. Firstly, you will make acquaintance with important theoretical concepts, as well as with a few essential structures and tools. F...
Description and Content of 3D-Dig Single-Step Dragline Simulation
Description
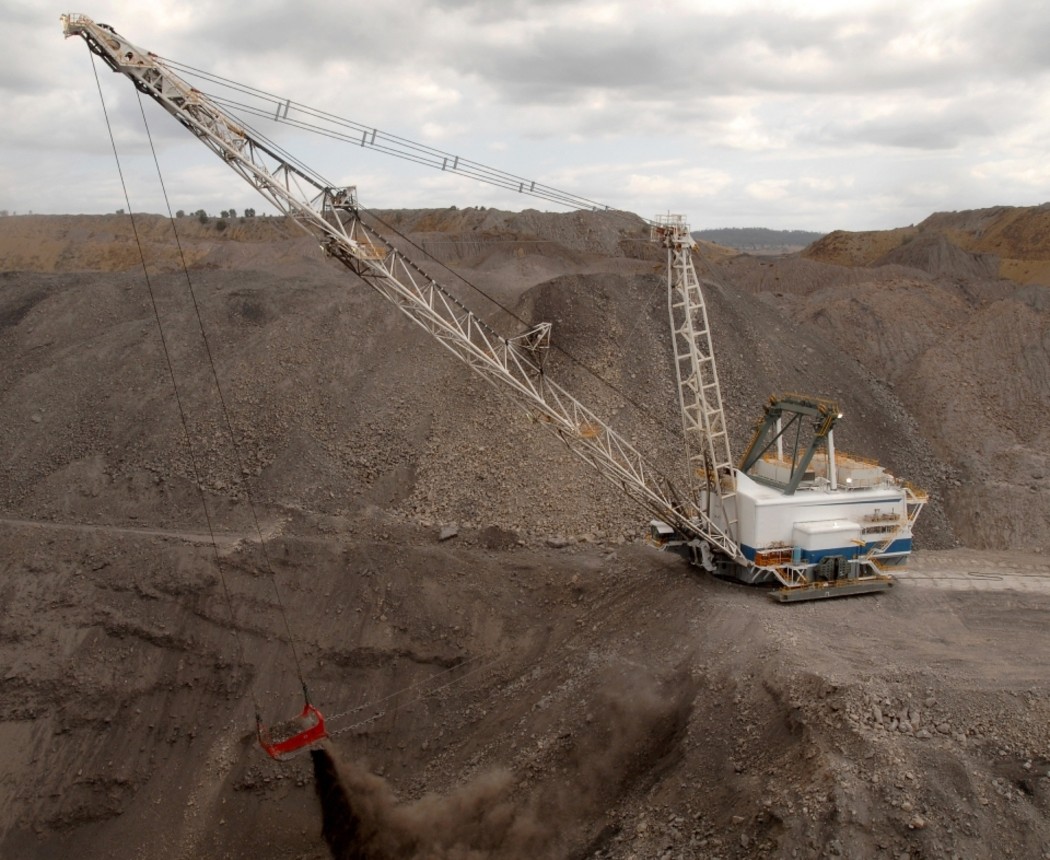
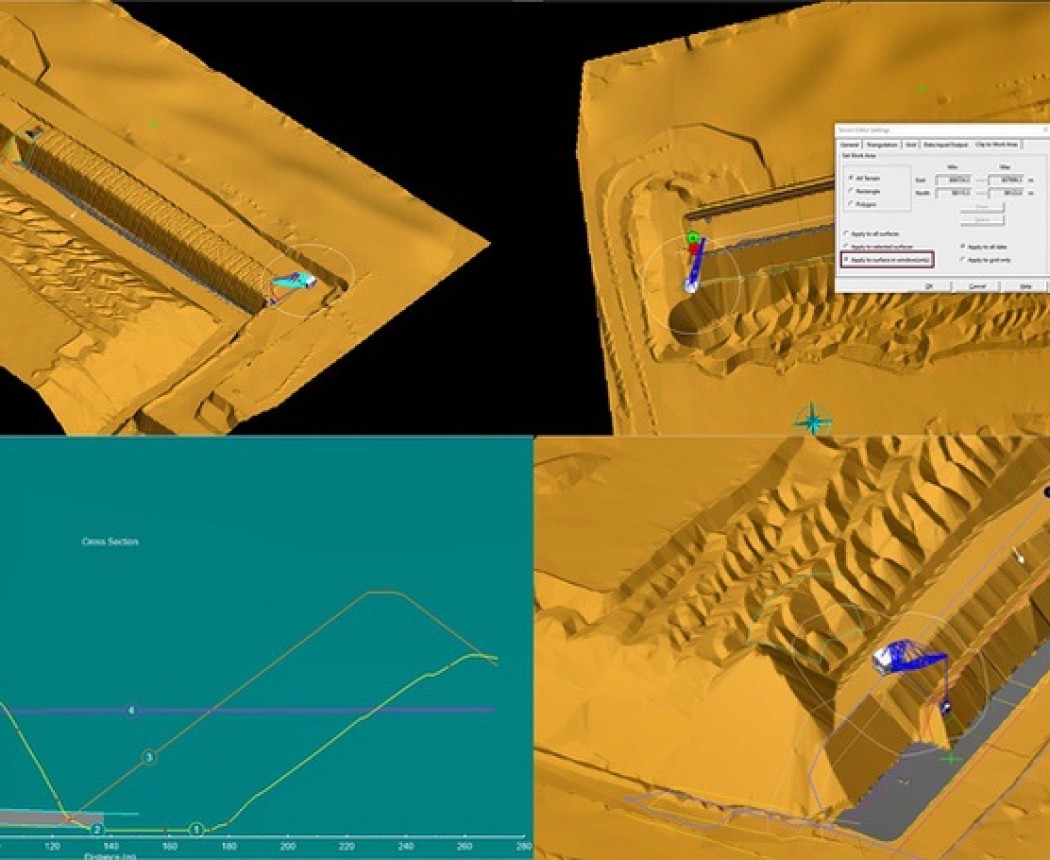
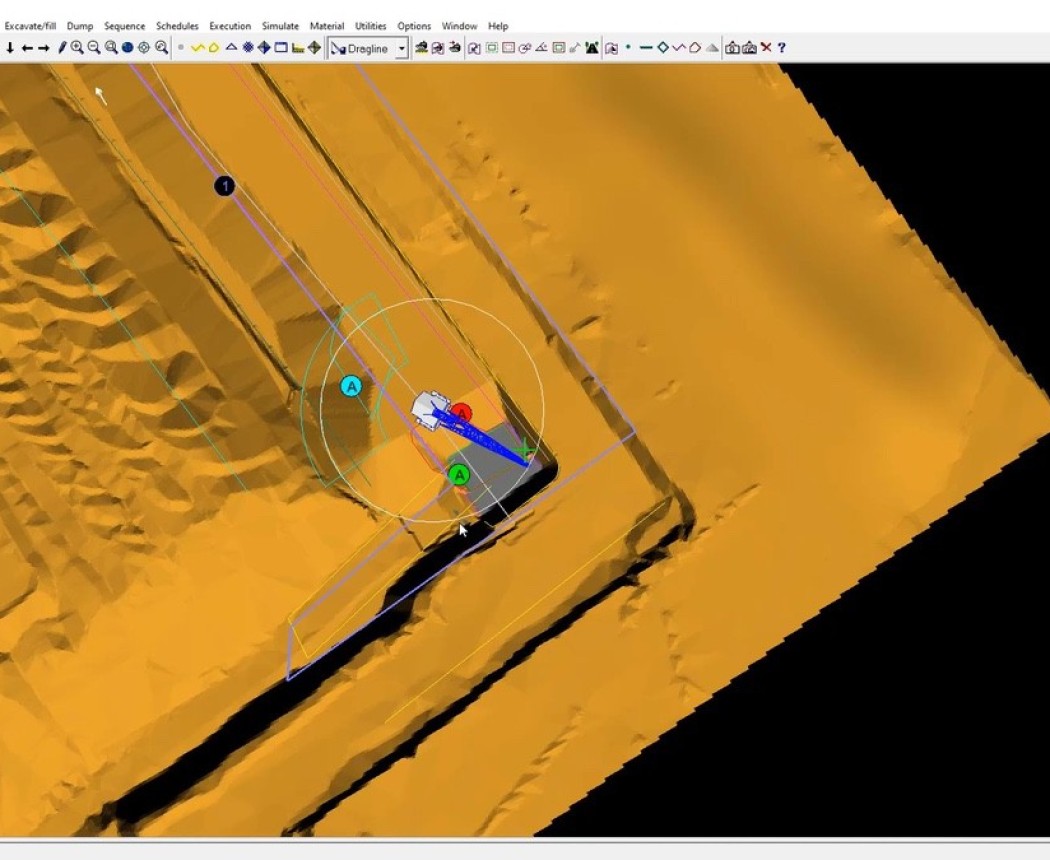
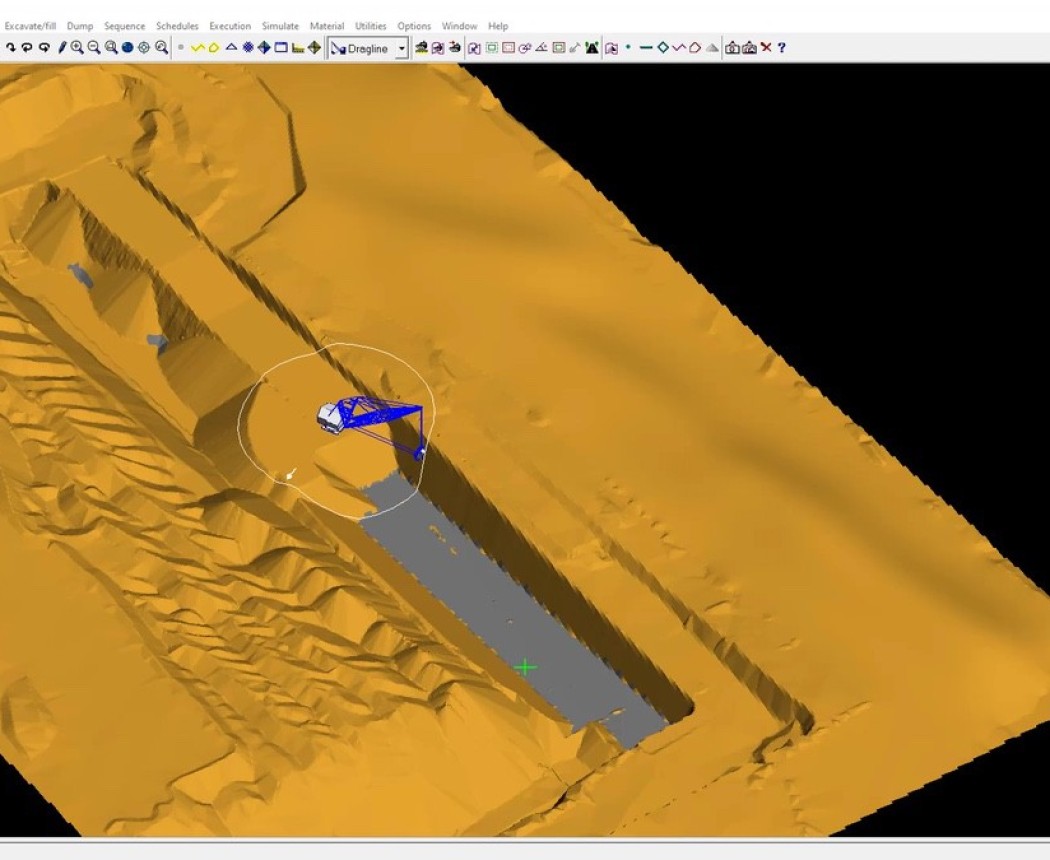
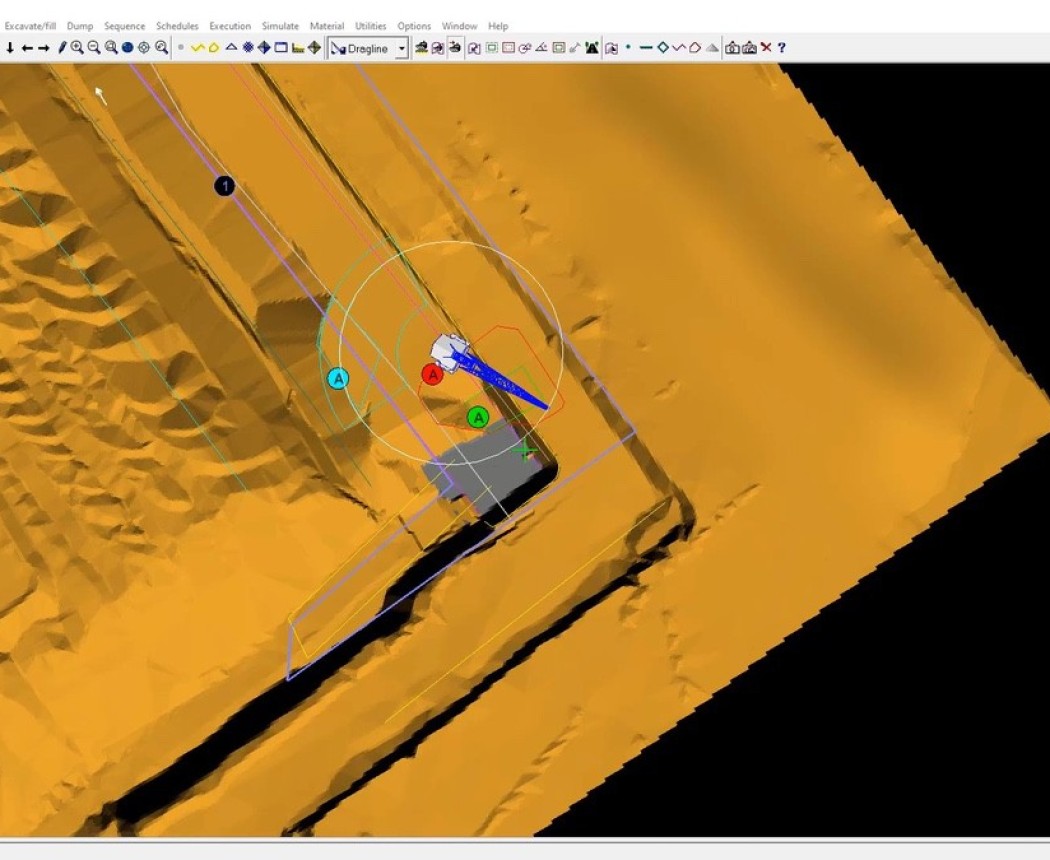
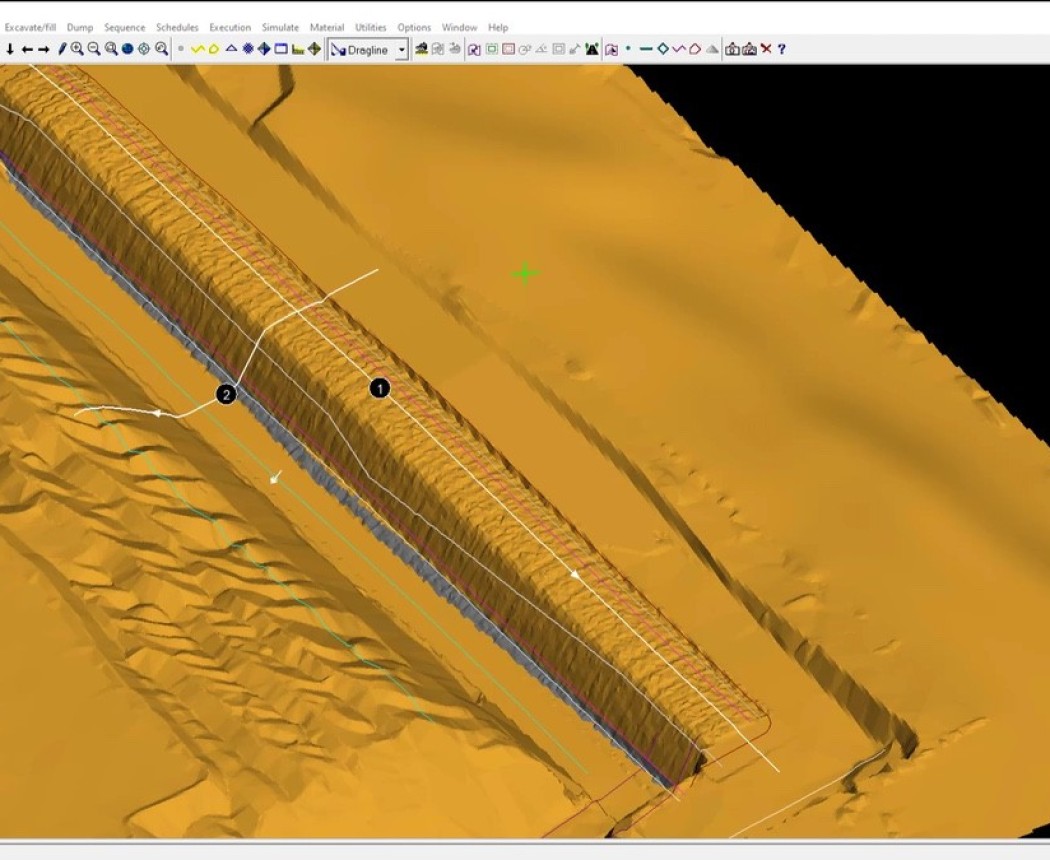
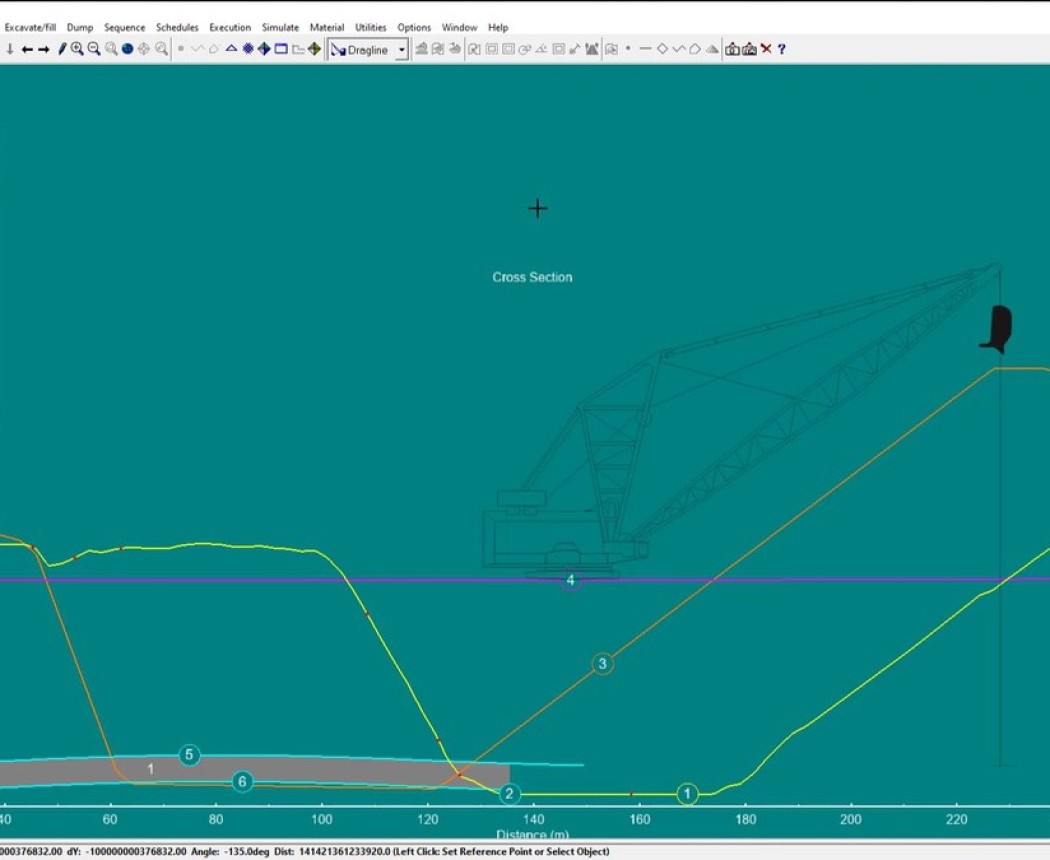
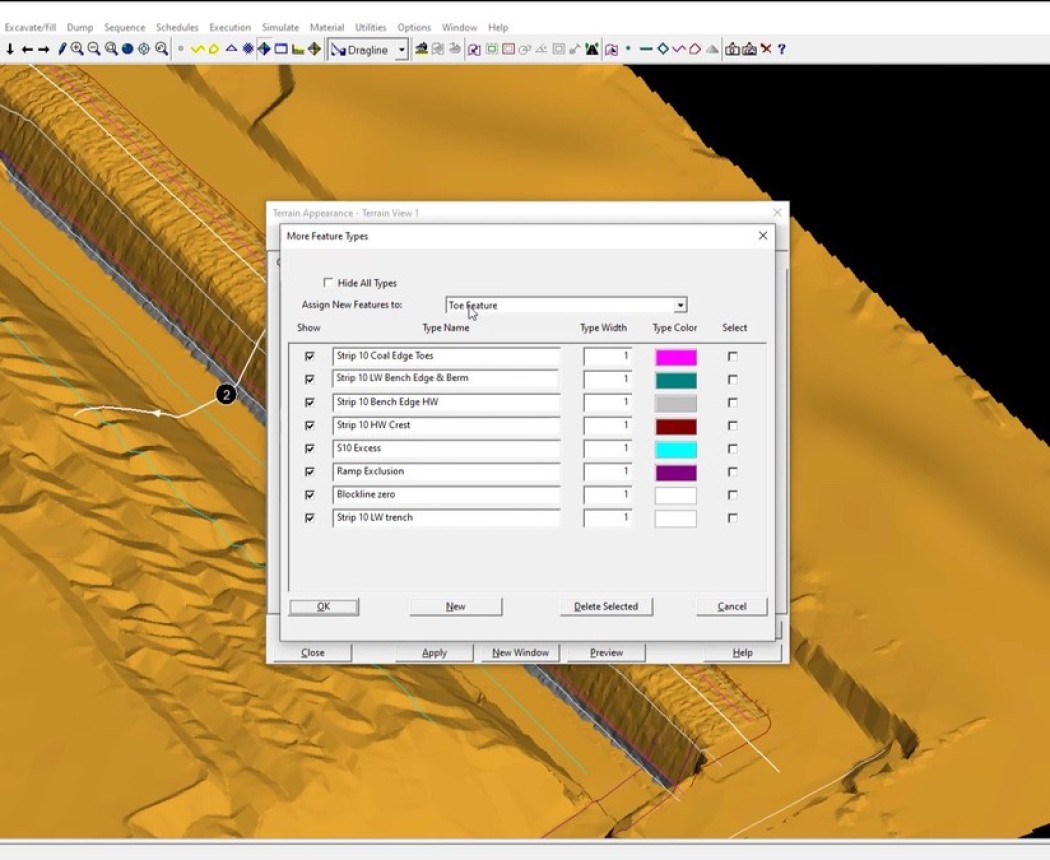
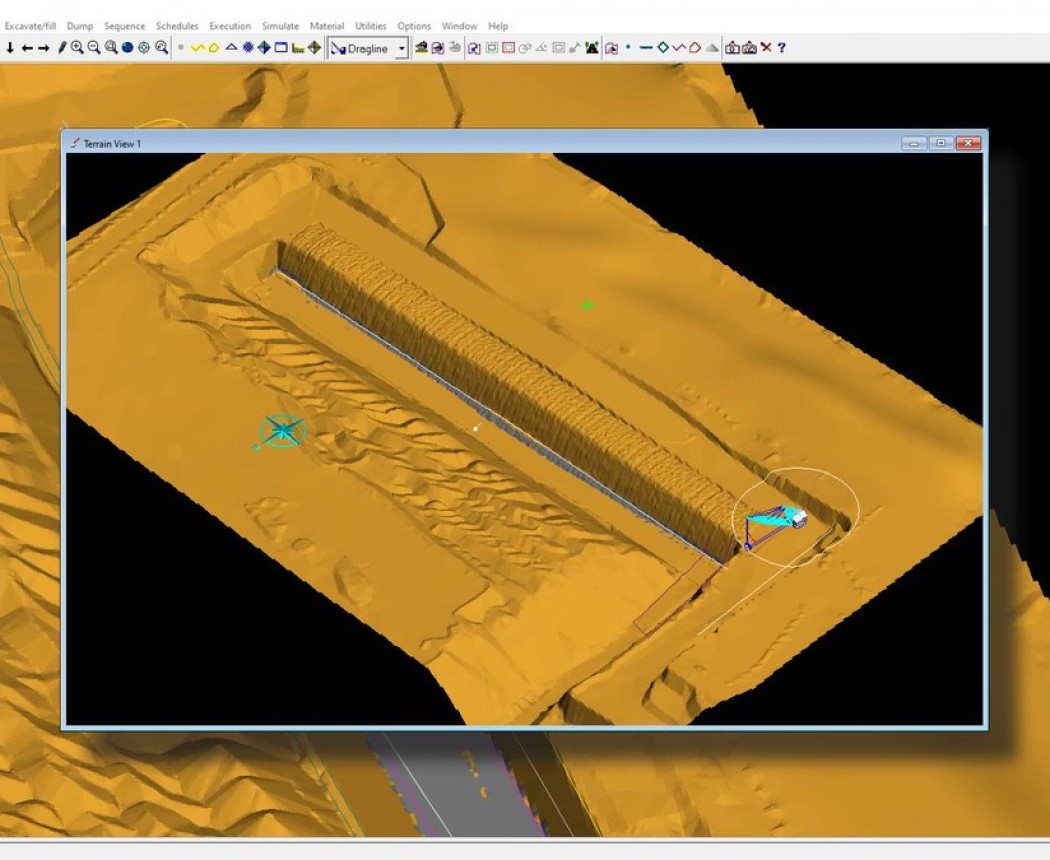
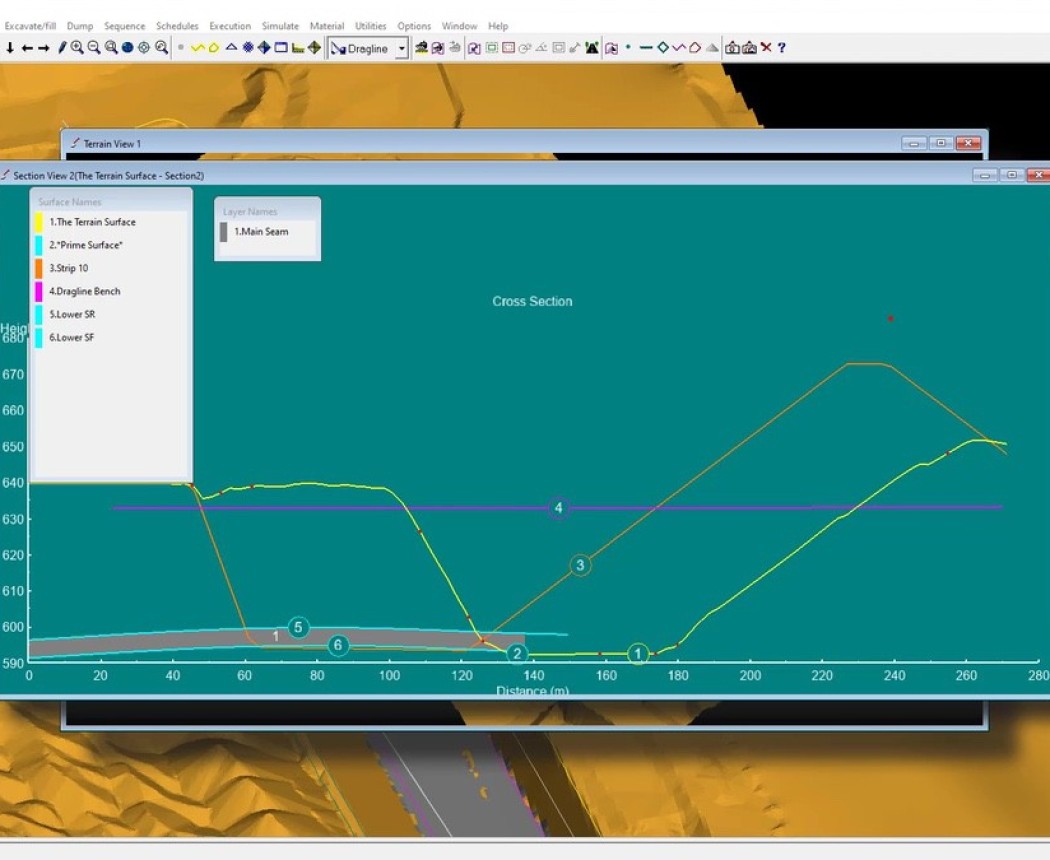
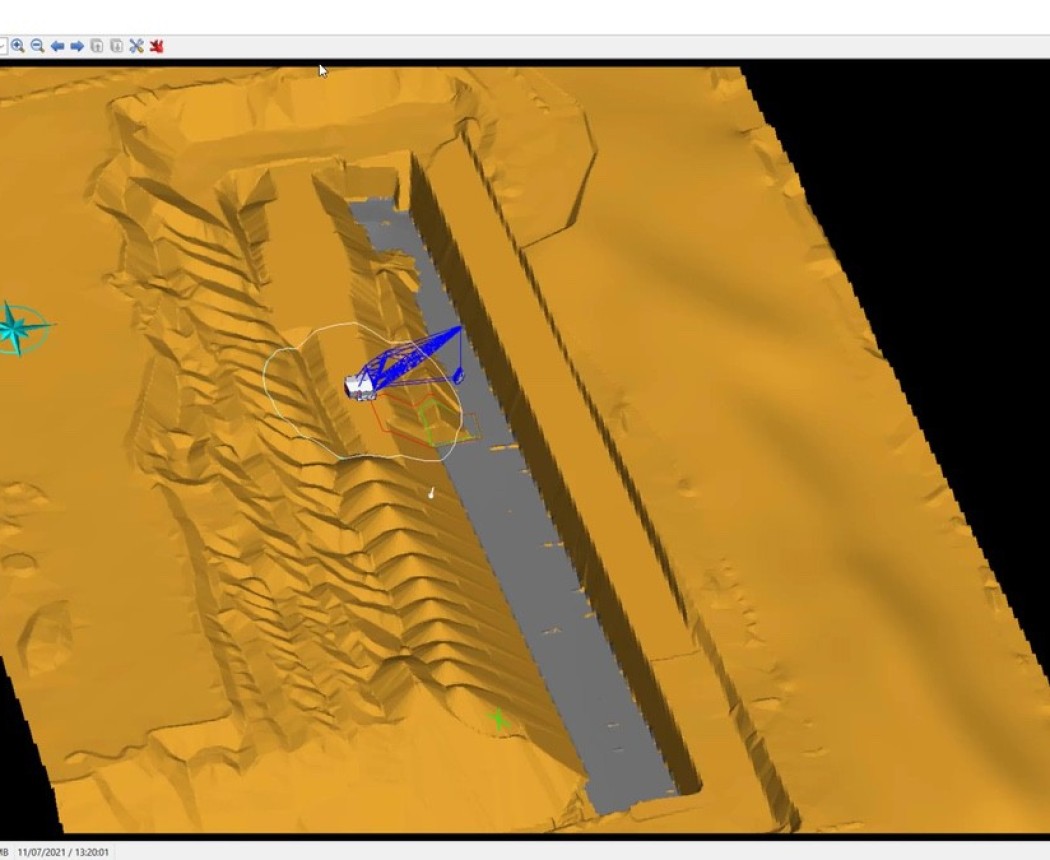
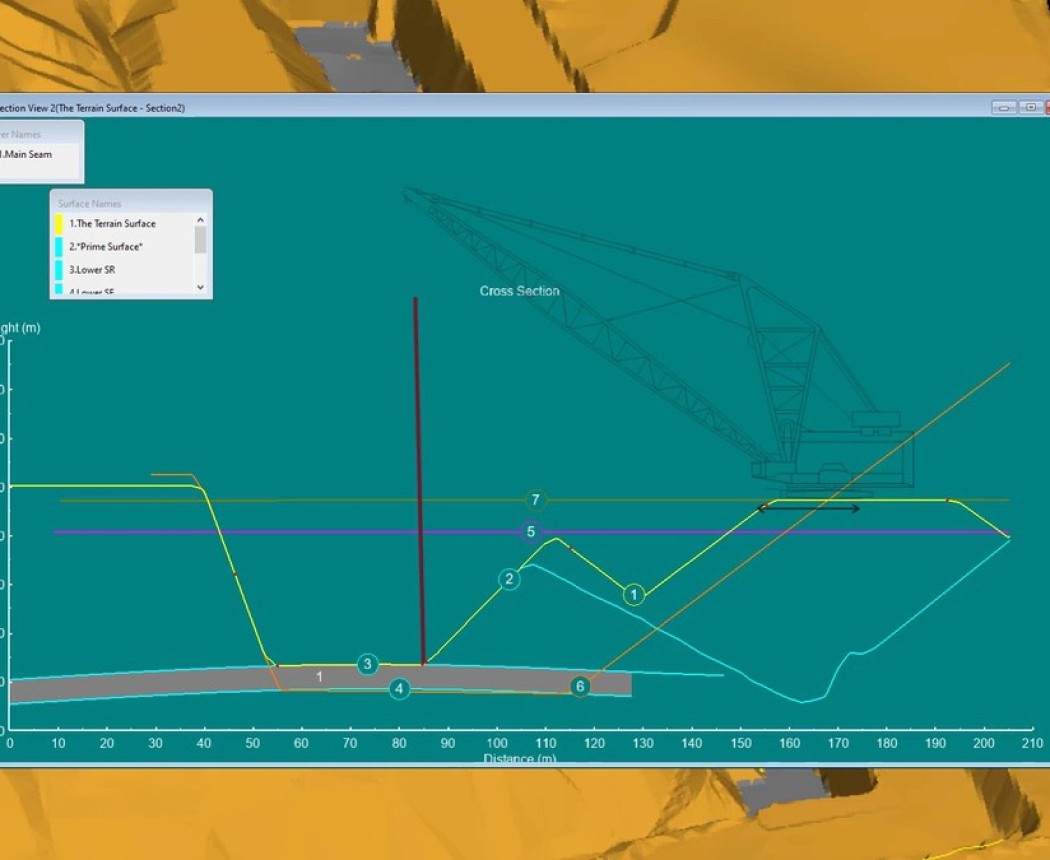
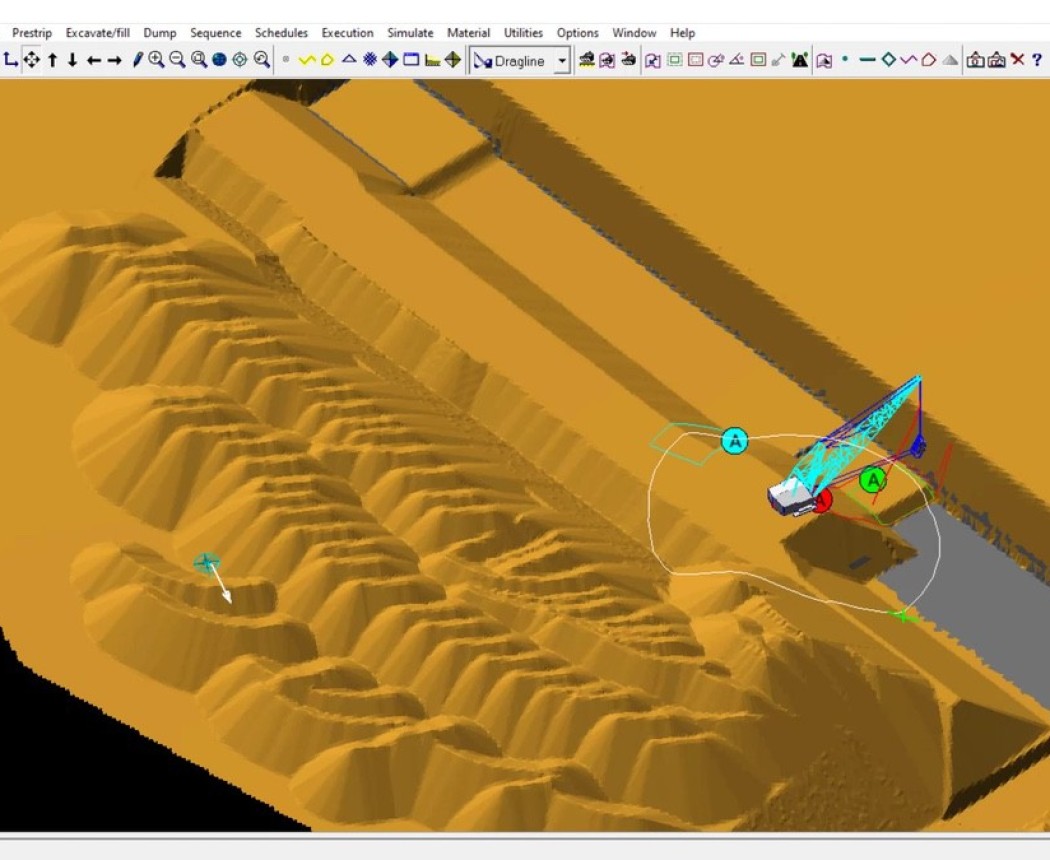
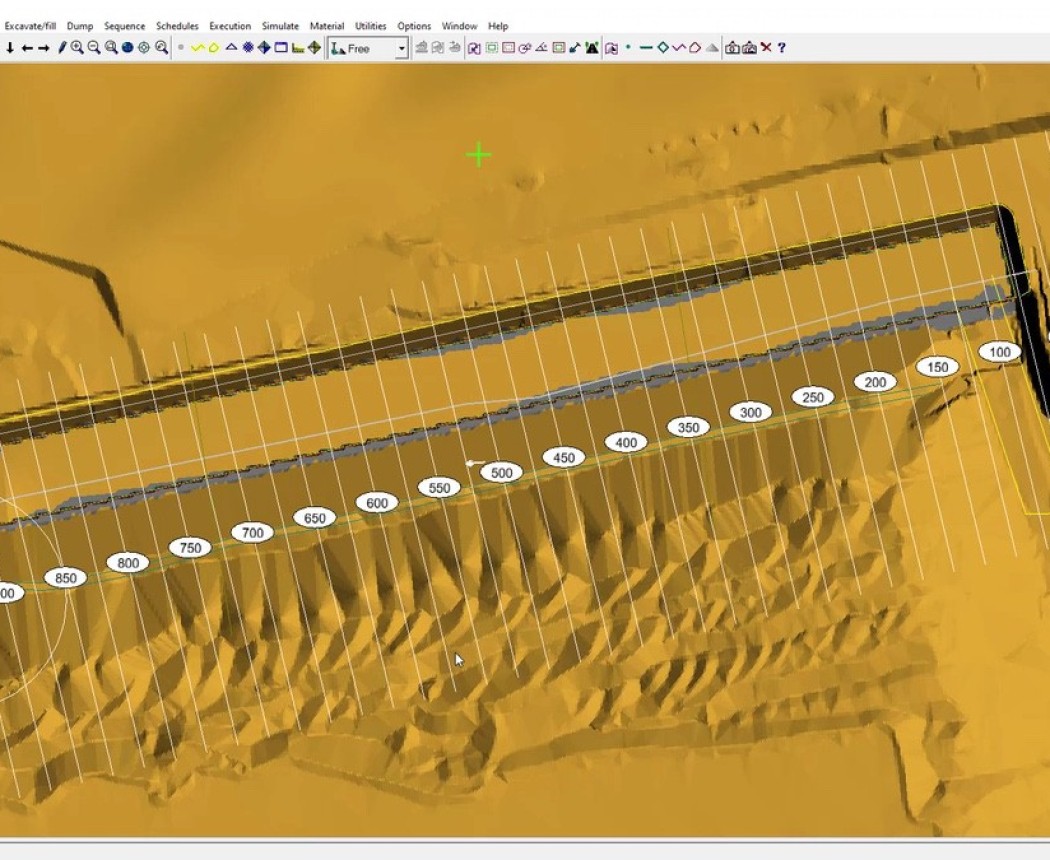
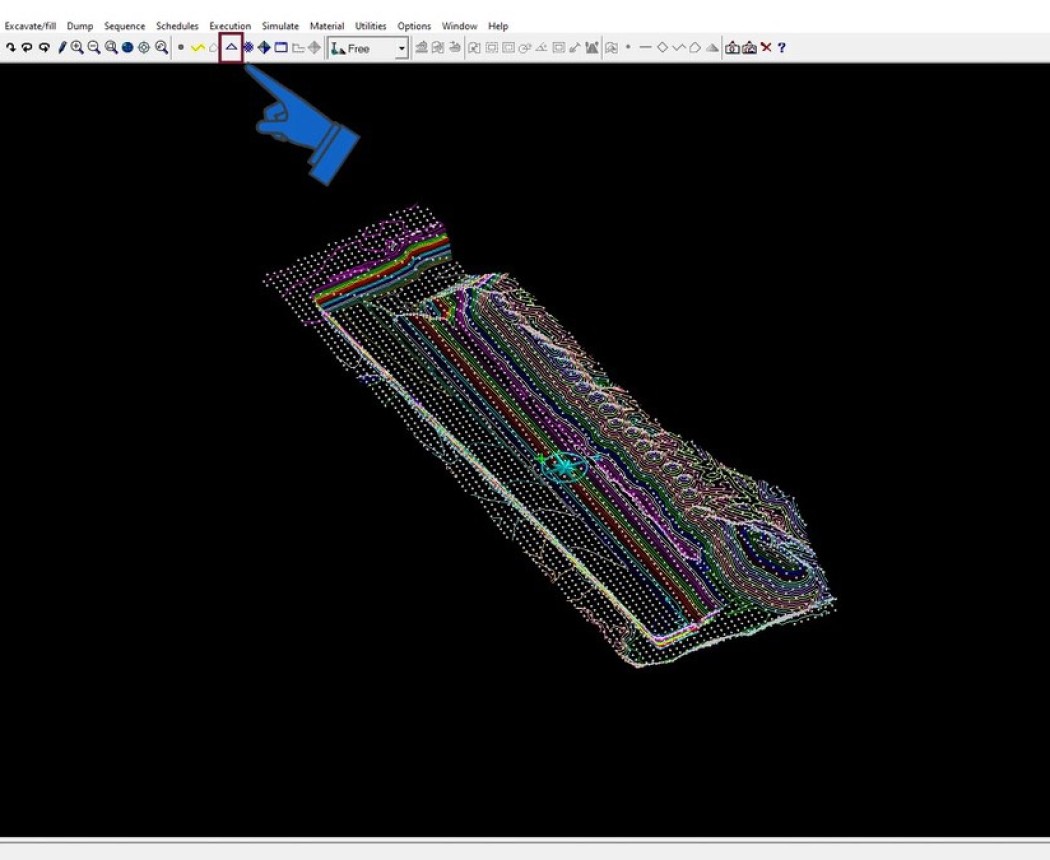
This course will introduce you to using 3D-Dig for Dragline Simulation. Firstly, you will make acquaintance with important theoretical concepts, as well as with a few essential structures and tools. Following this you will learn how to set up dragline simulations, create accurate 3D dragline mining plans and export critical planning information. The course will end with a description and hands-on application of the detailed Dragline Productivity Model in 3D-Dig.
Objectives
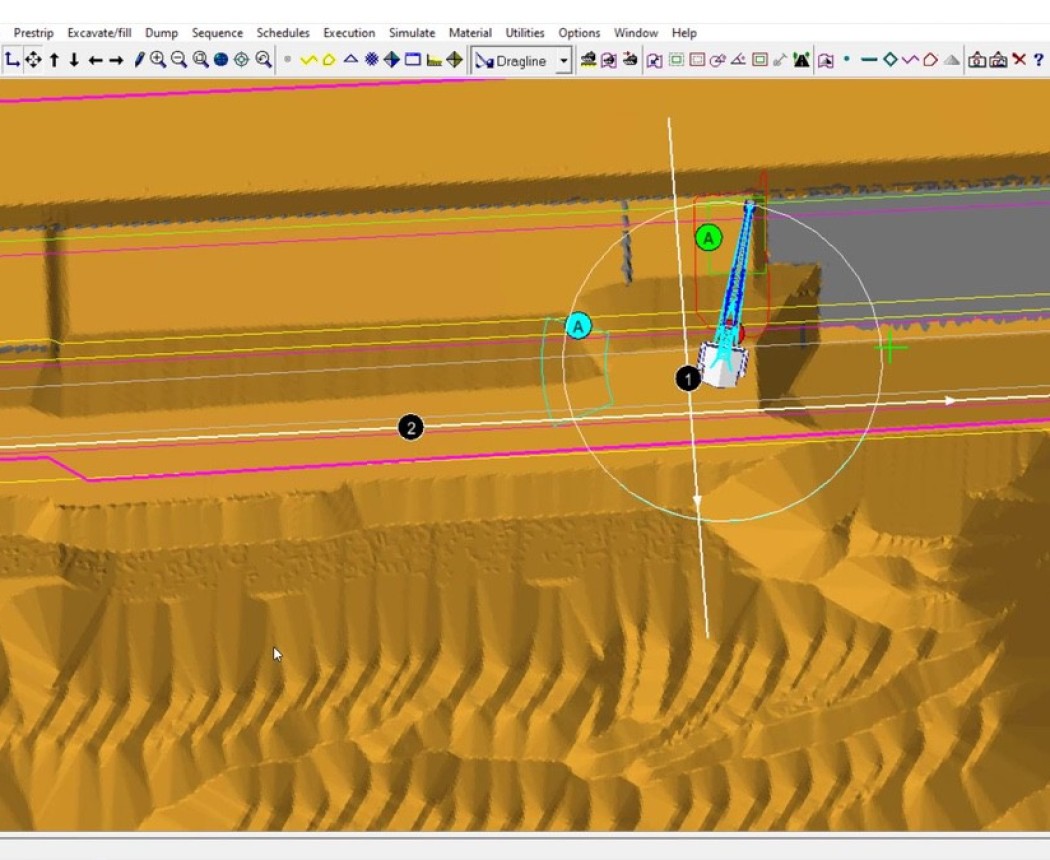
The purpose of this course is to learn you how to set up the simulated dragline in 3D-Dig, and how to use structures, tools and approaches important in the dragline simulations. Working through the lessons of this course, you will:
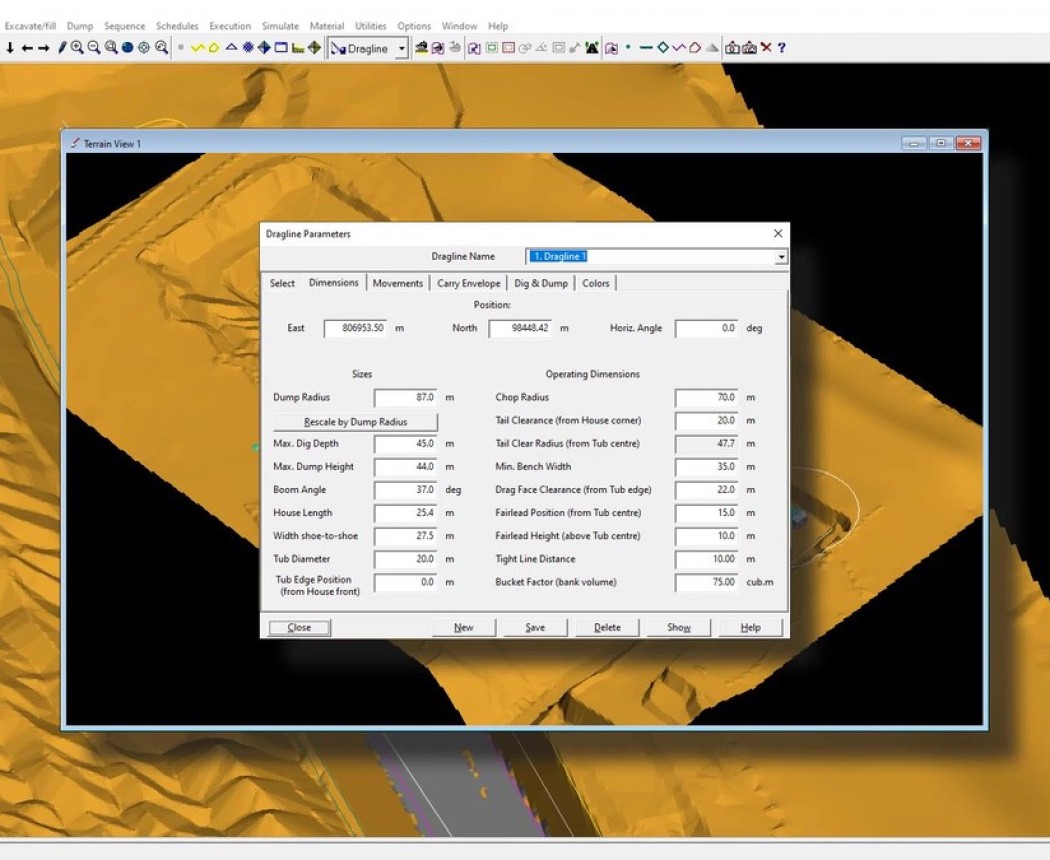
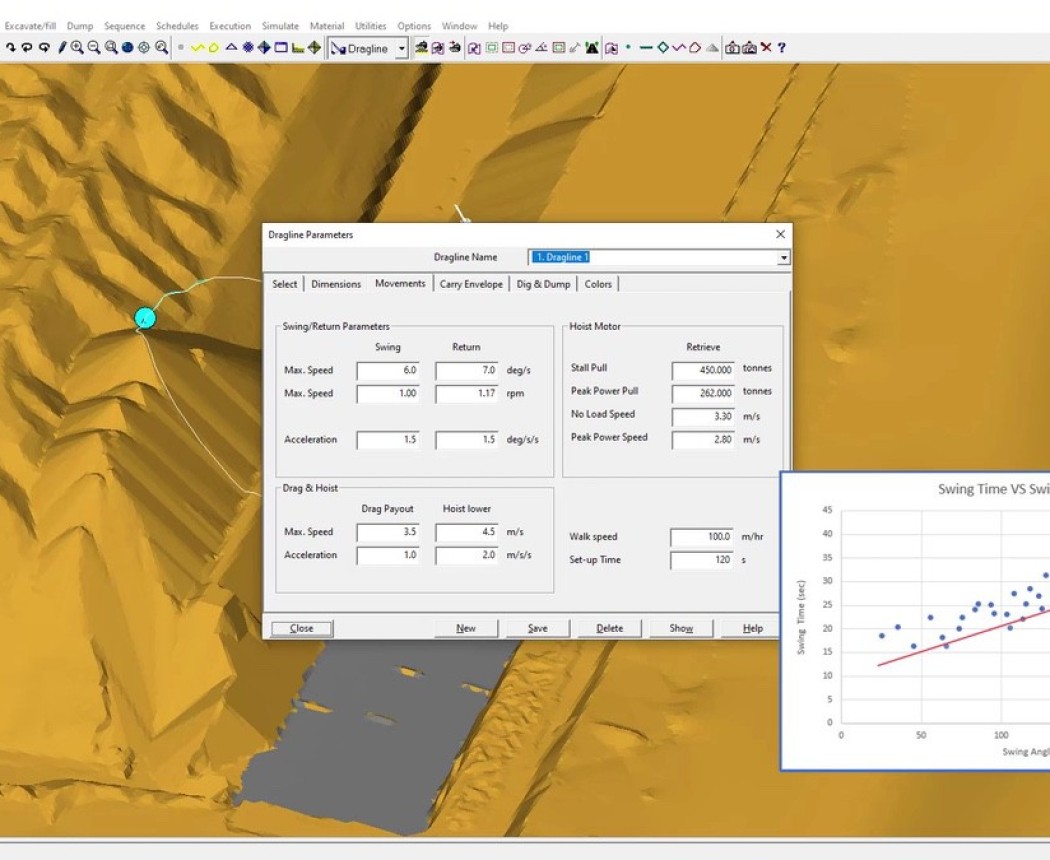
- Find out how to set up the simulated dragline.
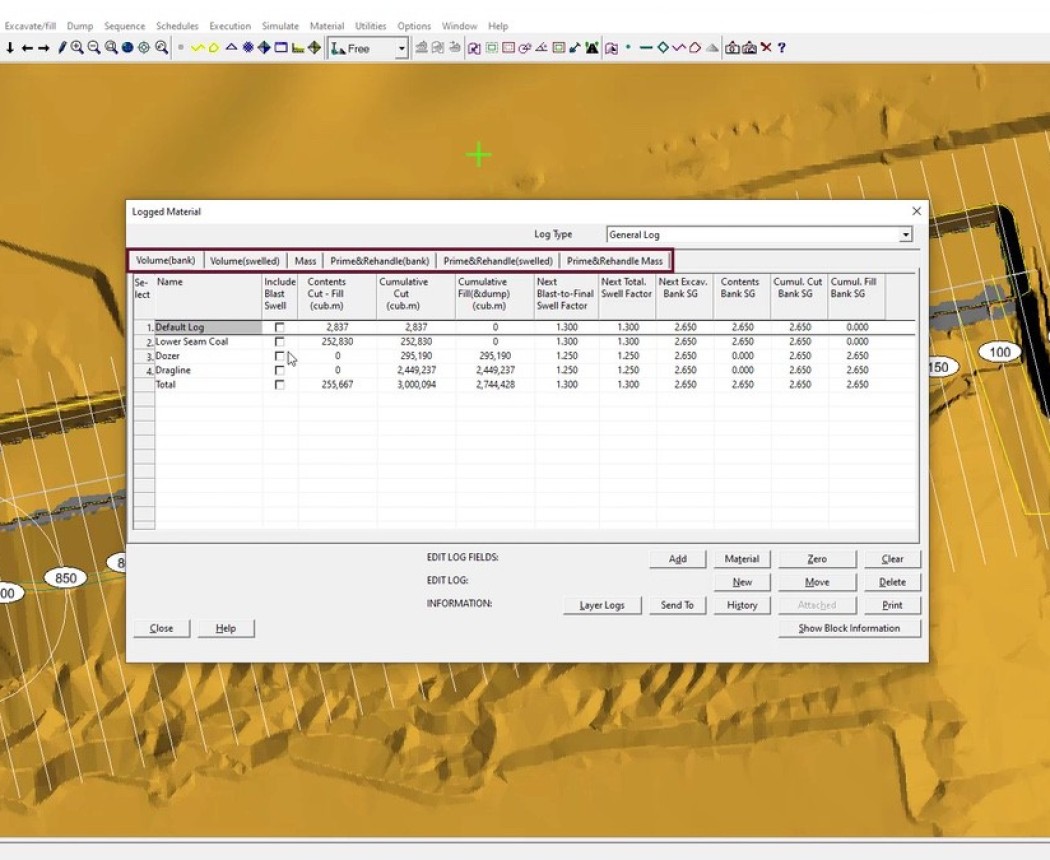
- Learn how to work with Material Logs, Redundant Data, and Restore Points in dragline simulations.
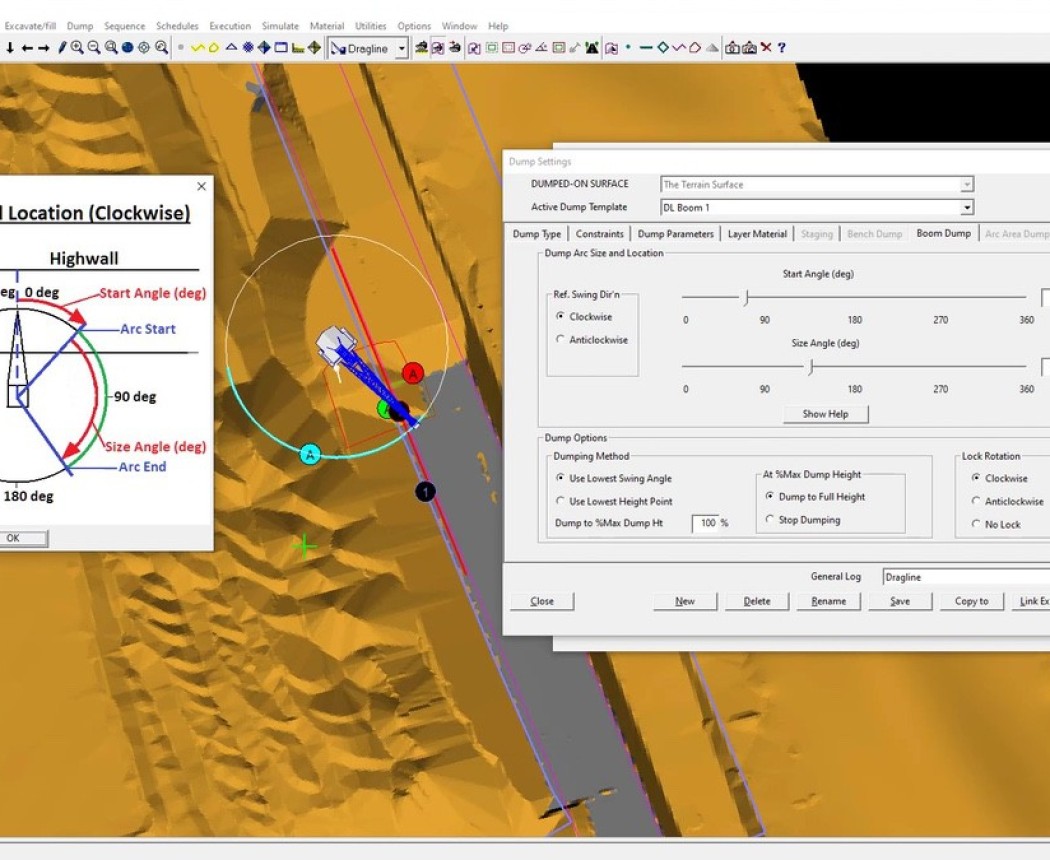
- Make acquaintance with the different modes of dragline dumping, and learn about boom dump settings, including the way boom dump arc location is specified.
- Set up the Excavation and Dump templates needed for the Key Bridge operation and learn how to create and shape the necessary excavation polygons.
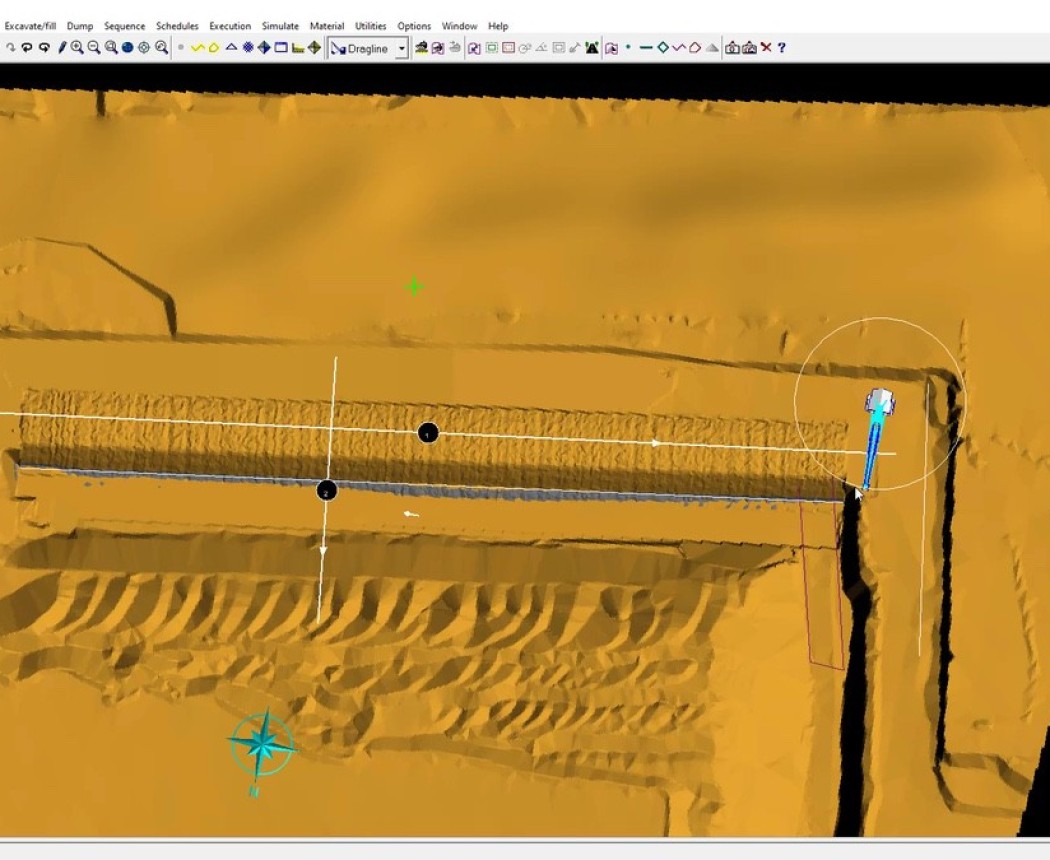
- See how to dig the Extended Key / Low Wall Bench operation.
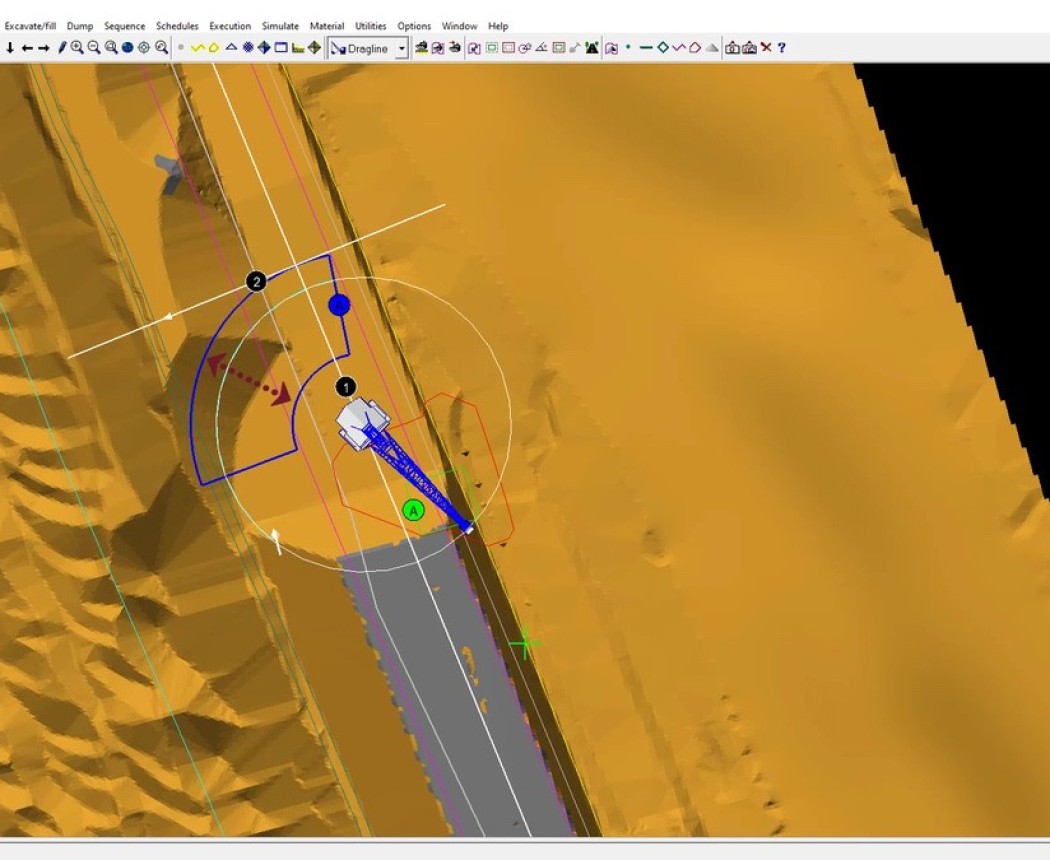
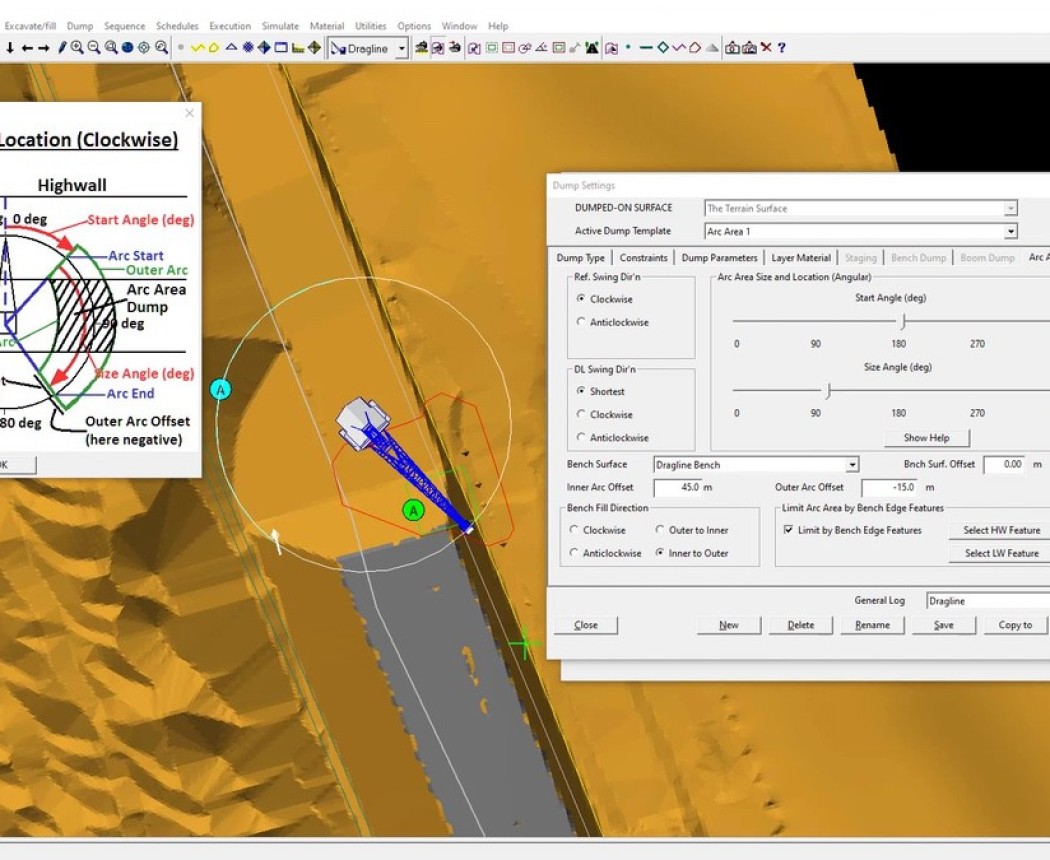
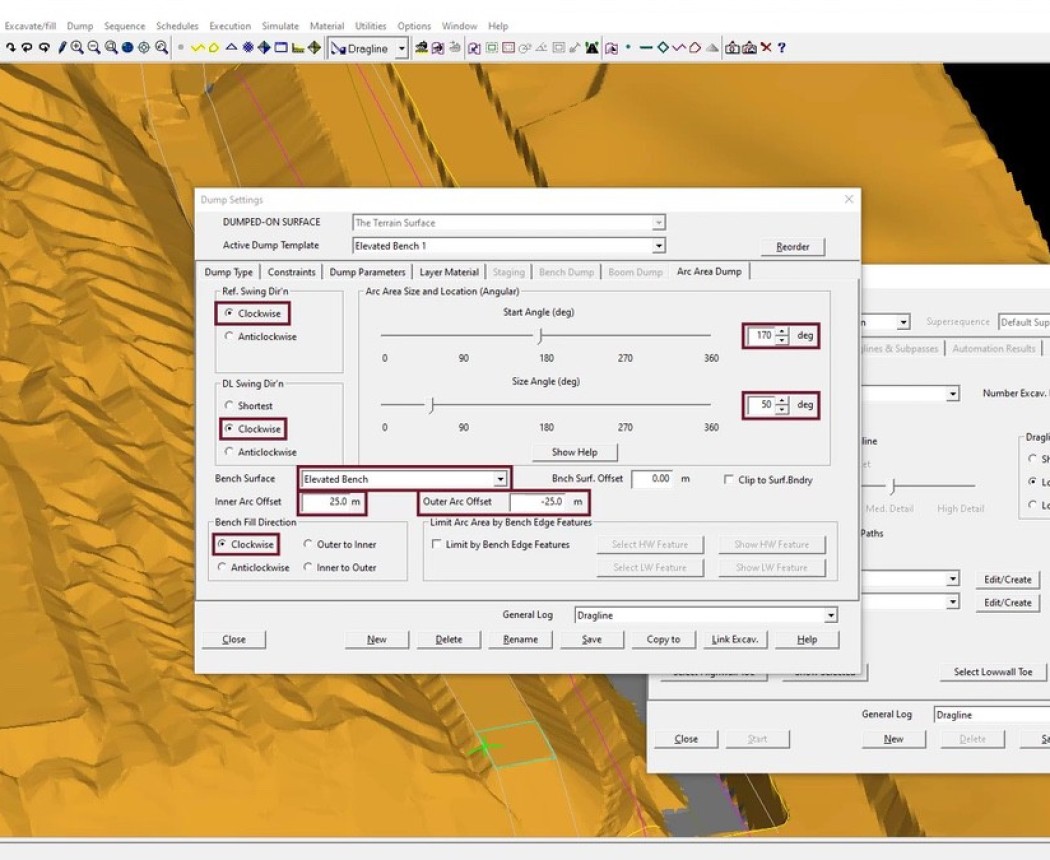
- Learn the extended bench method with its multiple excavation and dump templates, and see its advantages in comparison with the previous Key Bridge method. Explore how the Arc Area Dump is used to simulate the formation of the extended bench.
- Use the images that you captured during the simulations to organize and run a slideshow. You will also see how to import these images into "PowerPoint" to create a presentation.
- See an overview of the way the dragline bench is created, and learn how to set up a simplified method to simulate the bench dozing, which involves manual excavation and dumping in "Free" mode.
- Make acquaintance with the concept of excavating the complete pit using the key bridge method.
- Learn how to set up the steady state digging for the bulk of the pit to the point, where it is approaching the end wall.
- Get a brief overview of ways to export volumetric and topographic data from 3D-Dig.
- Learn how to accurately predict dragline productivity by using the 3D-Dig dragline model.
- Get an overview of how to reimport the dragline positions into 3D-Dig to create a visualization of the dragline positions during simulation.
You can click here to download a detailed PDF of module descriptions.
Certificate
By completing/passing this course, you will attain the certificate 3D-Dig Course Certificate
Content
-
This quick introductory module provides a brief, high-level overview of course content. You will meet your instructor and have the option to download a course data package as well as helpful course resources.
-
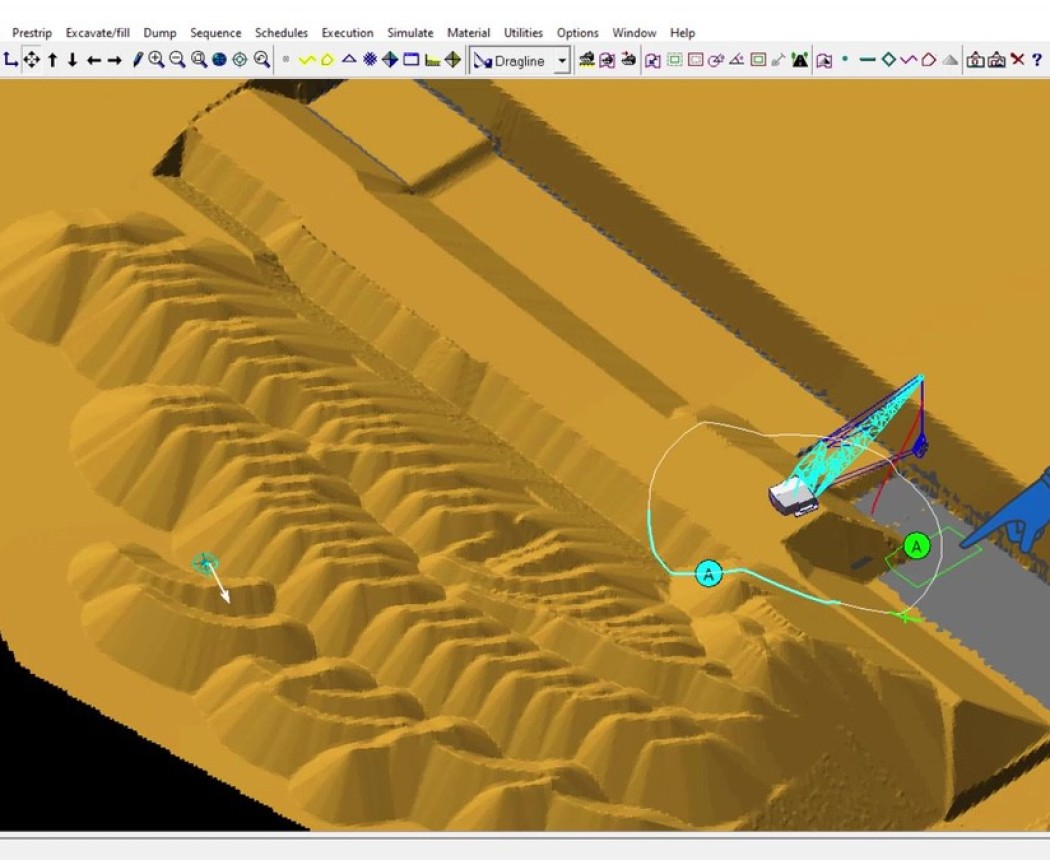
This module will start with an overview of the aims of the Single-Step Dragline Simulation Course. You will learn how to set up the simulated dragline and how to use structures and tools important in dragline simulations.
- Find out how to set up the simulated dragline.
- Learn how to use structures and tools important in dragline simulations.
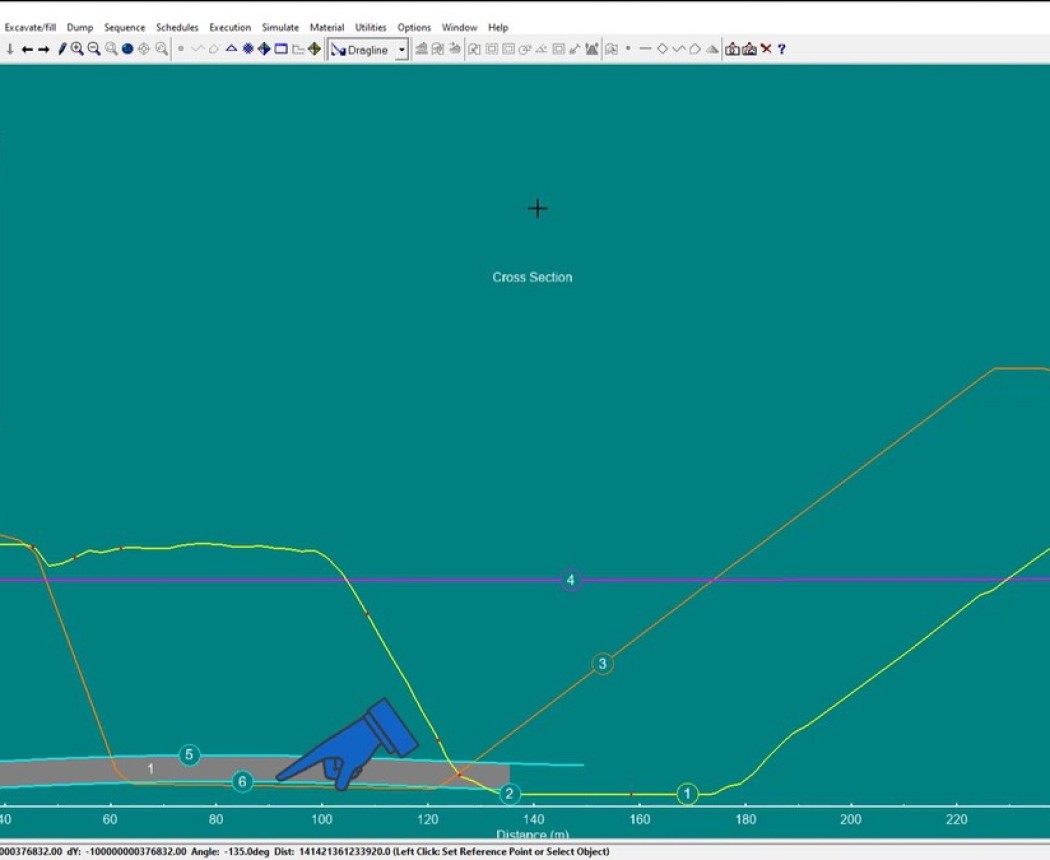
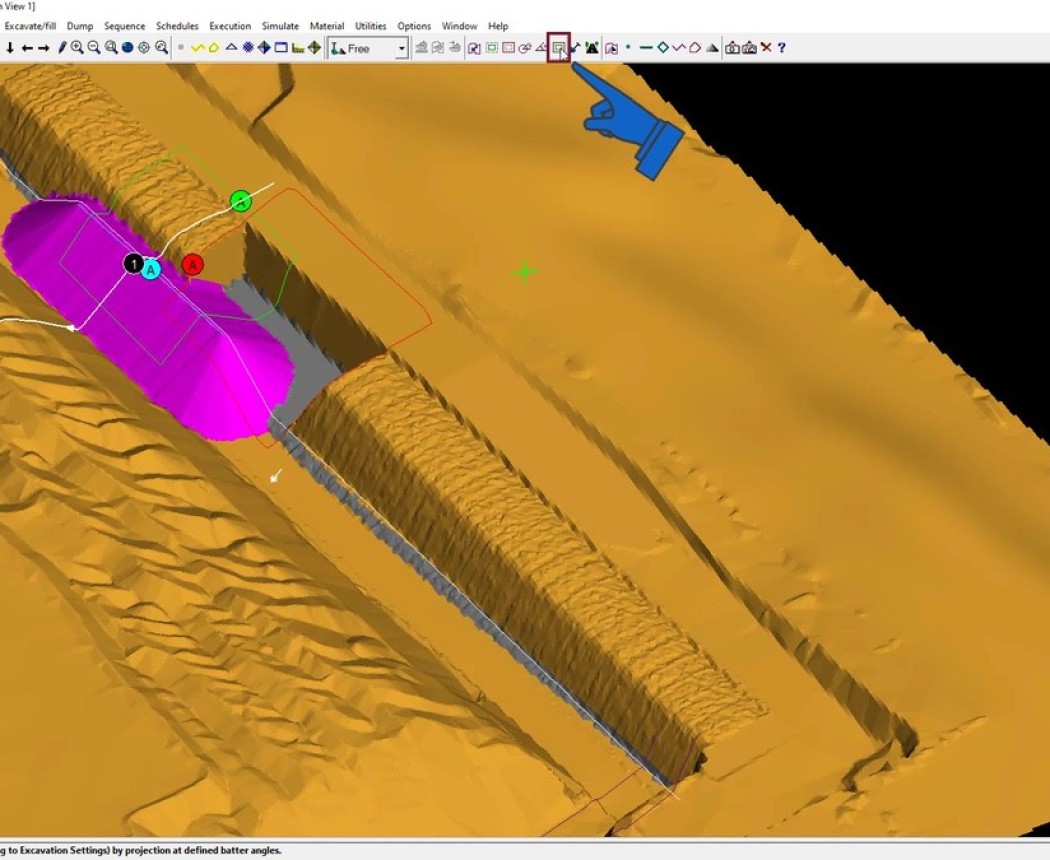
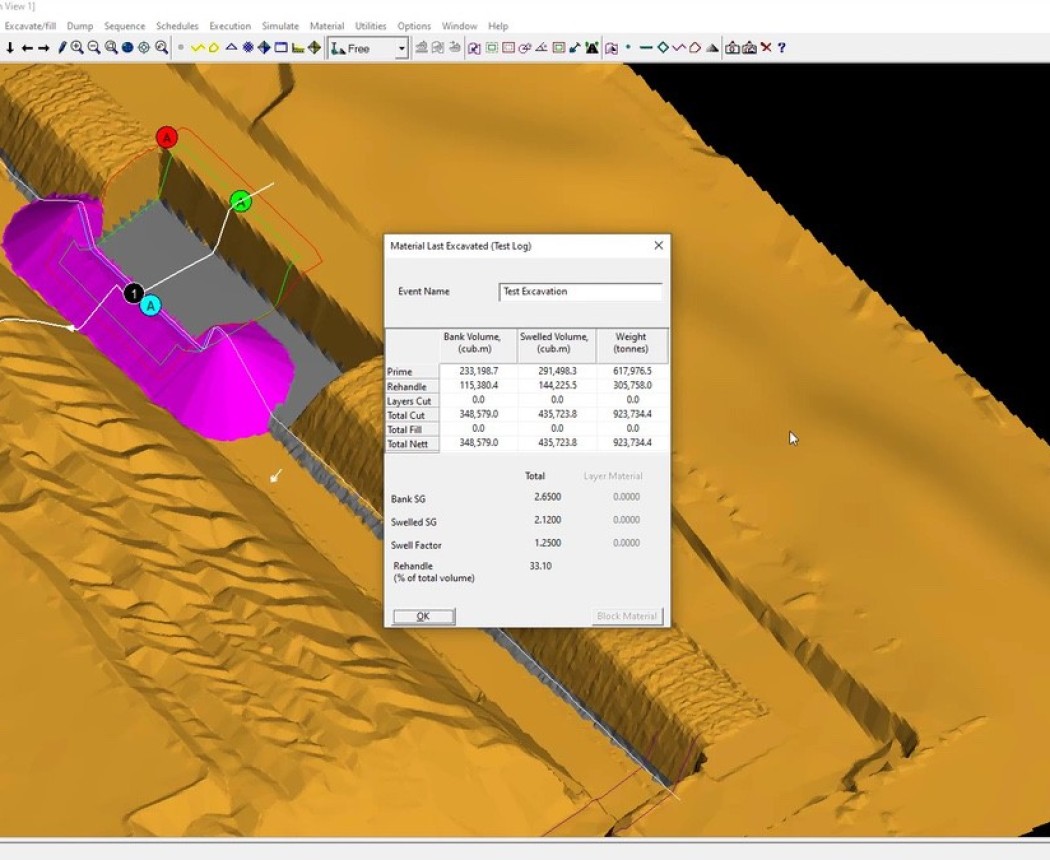
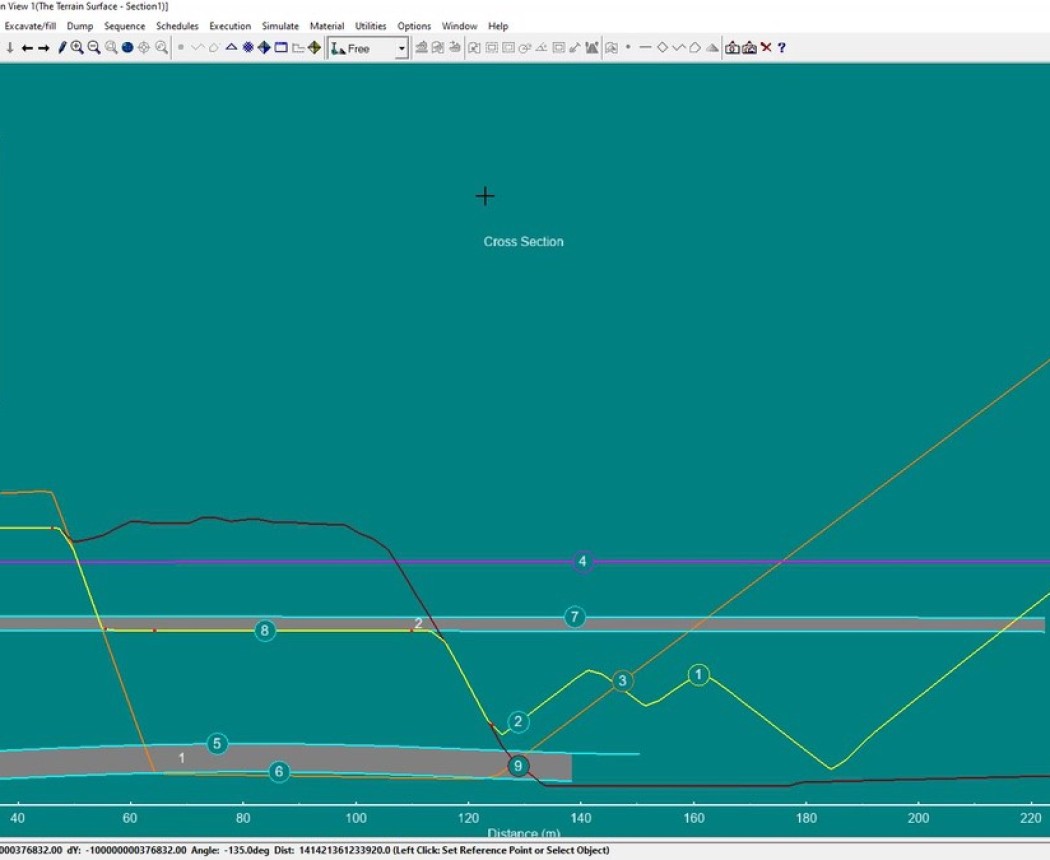
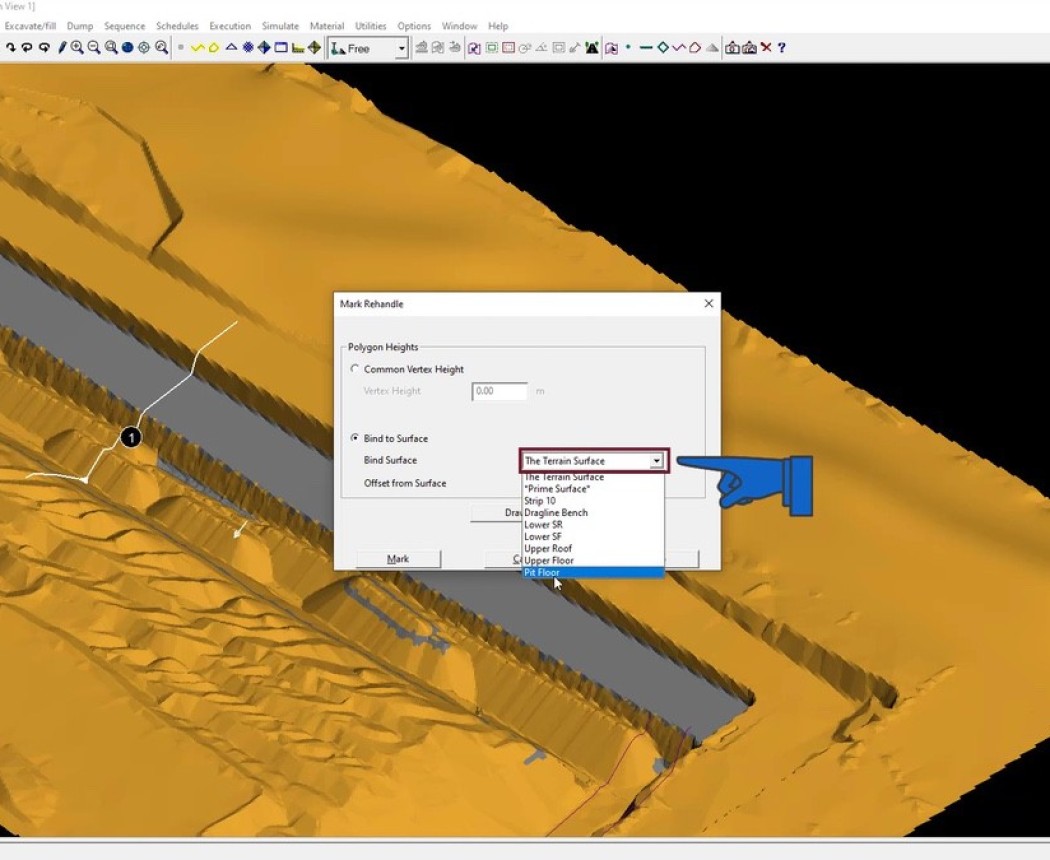
- See the importance of Prime and Rehandle materials in Dragline Simulation: concepts and methods used to separate these materials during simulation are covered in detail.
- See how to remove the rendering of pre-existing geology layers in the spoil.
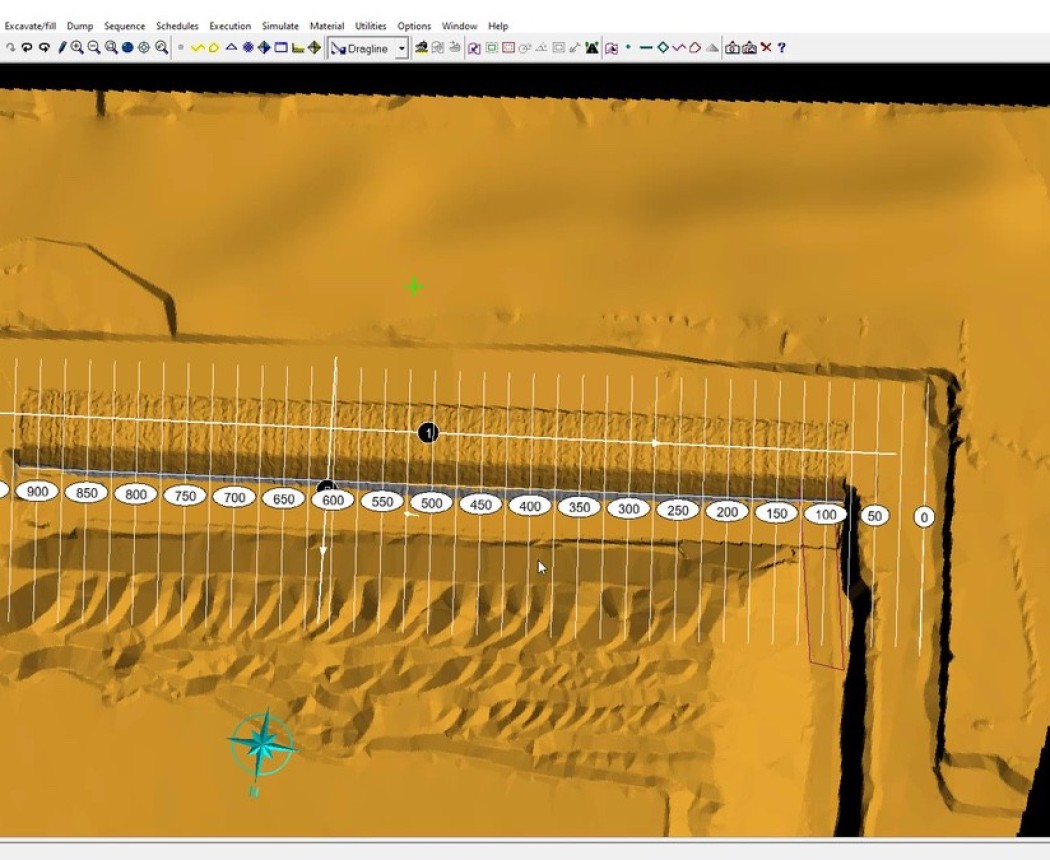
- Explore how to use 3D-Dig’s Block Line Generator to create the Block Lines used in simulations.
- Learn how to work with Material Logs, Redundant Data, and Restore Points in dragline simulations.
-
In this module, you will learn the initial steps required to set up a dragline simulation. The process of creating draglines in "3D-Dig" will be demonstrated, including setting up dimensions and parameters needed to model the actual draglines. Also, you will see details of working with bench dumps and the extension of the operating bench in dragline simulation.
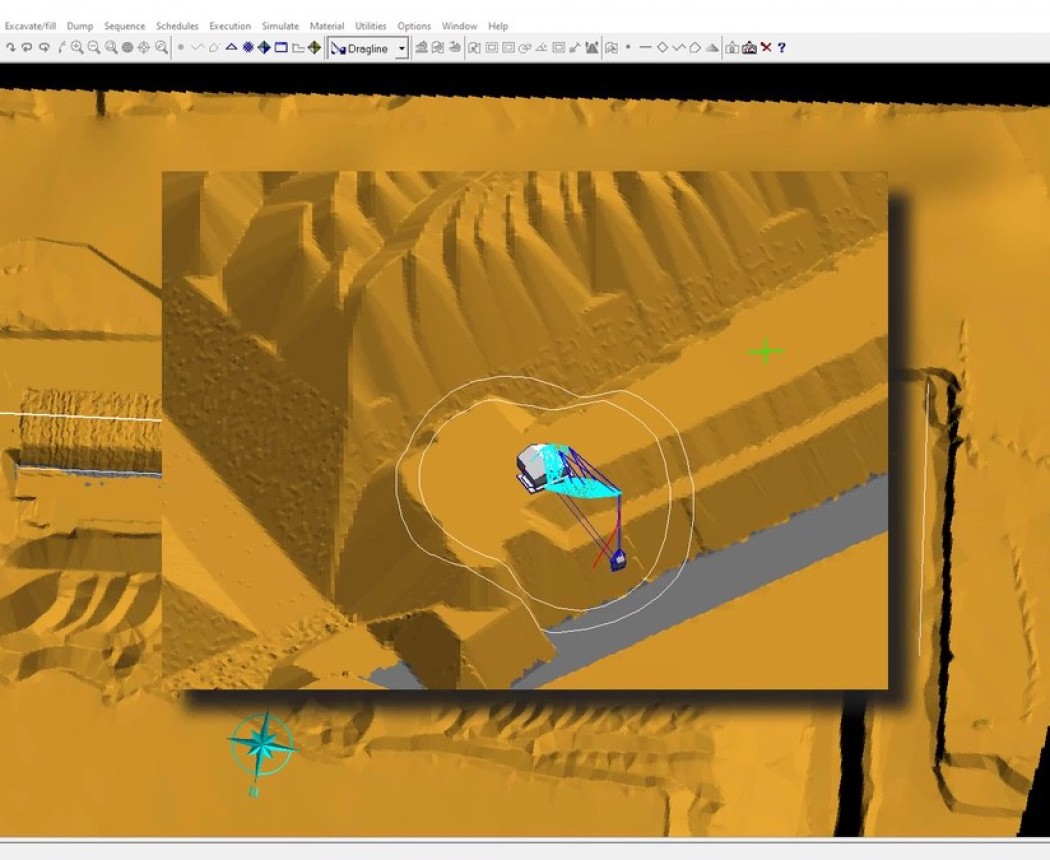
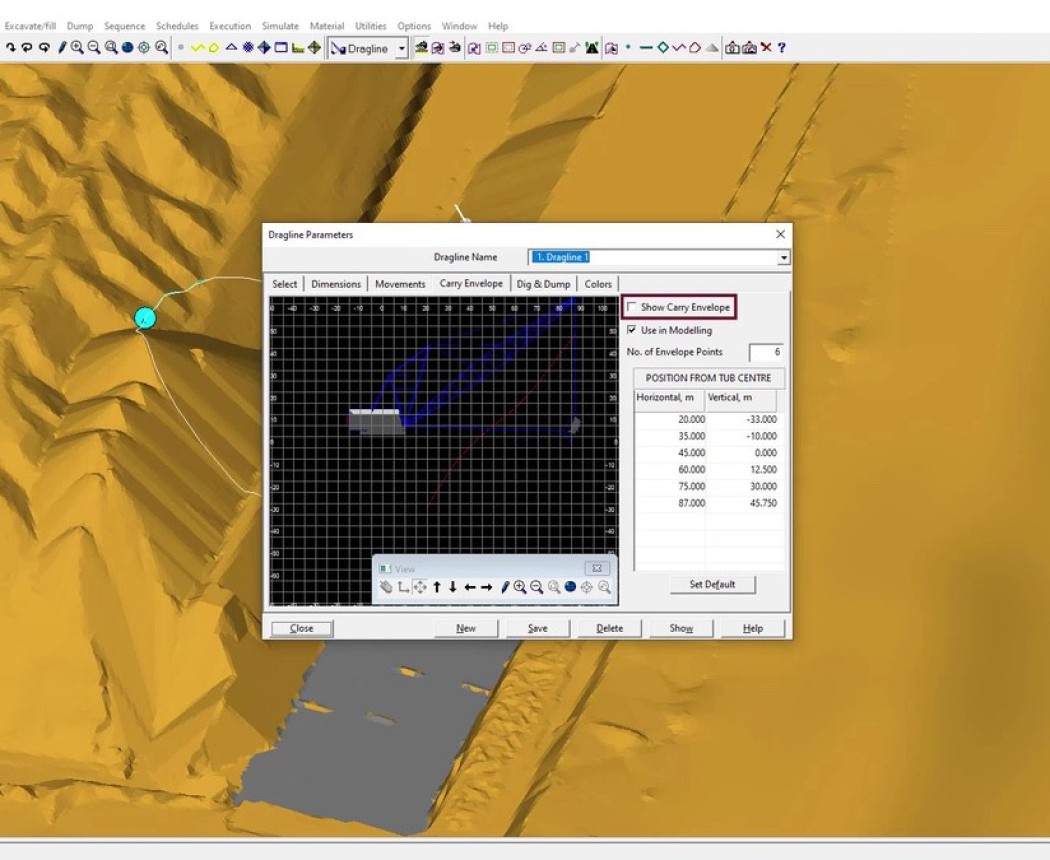
- See how to set up dragline parameters for simulation of earthworks.
- Make acquaintance with the different modes of dragline dumping, and learn about boom dump settings, including the way boom dump arc location is specified.
- See how to set up and work with level constraints during the simulation of dragline dumping.
- Learn details of working with bench dumps and the extension of the operating bench in dragline simulation.
- Explore how the formation of dragline benches using area dumps simulates the work of a dragline together with dozers.
- Work with advancing area dumps and arc area dumps that are used to form dragline benches.
-
This module begins with a review of the first two modules of this course. Further lessons then concentrate on teaching you important techniques for dragline simulation. This is done by executing a Key Bridge operation.
- Briefly review what you have learned in the first two modules of the course.
- Learn how to set up a Dump Limit Polygon to control dumping.
- Set up the Excavation and Dump templates needed for the Key Bridge operation and learn how to create and shape the necessary excavation polygons.
- Explore how to cast the remaining material to spoil, while executing the Key Bridge operation. Also, you will see how to adjust the size of the inner polygon.
- Simulate the formation of the dragline bench using two alternative ways to simulate the dump: an Advancing Area Dump or an Arc Area Dump.
- See how to use a Boom Dump to cast remaining material to spoil, while the dragline is positioned on the bench.
-
In this module, you will simulate several blocks of an Extended Key / Low Wall Bench operation. In this way, you will reinforce the skills you learned in the previous Key Bridge module. After learning how to build the elevated Low Wall bench by excavating the extended key, you will reposition the dragline on this low wall bench. You will then dig several blocks using the dragline located on the Elevated Bench. In addition, you will see two ways to uncover the coal in this situation.
- See how to dig the Extended Key / Low Wall Bench operation.
- Learn how to design the correct Key Width and Bench Location for a successful operation.
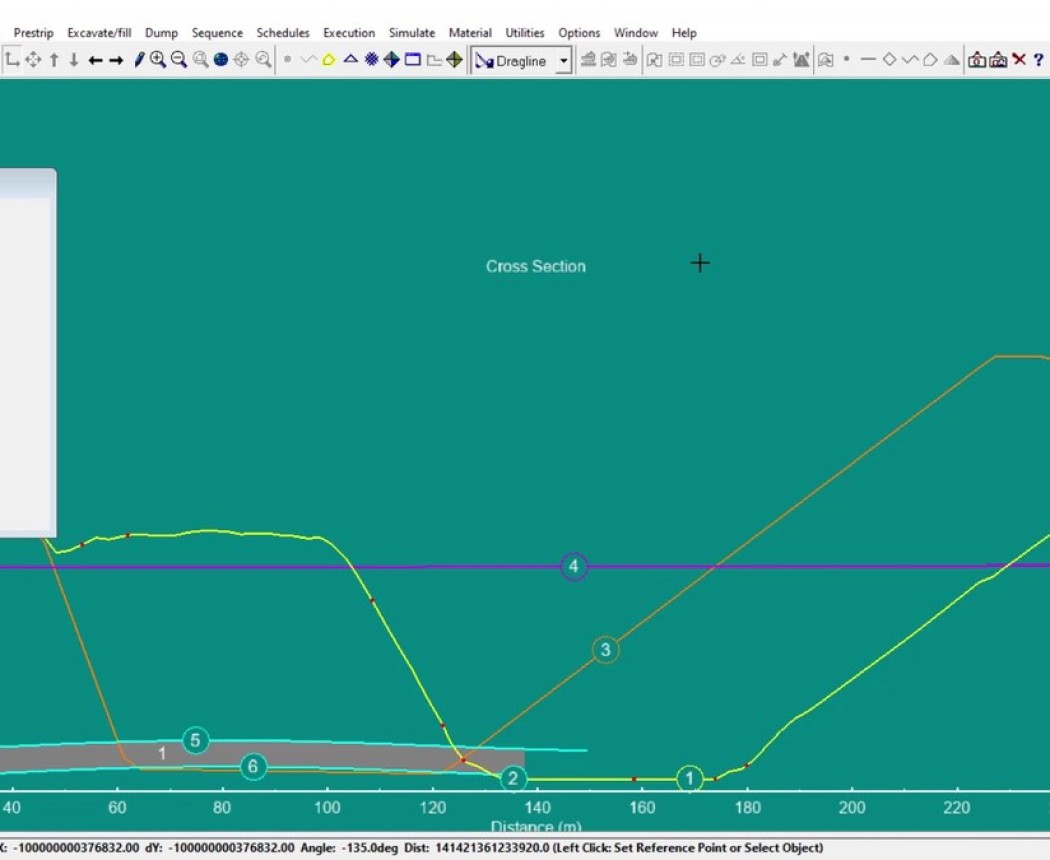
- Set up an Excavation template and an Arc Area Dump template, which are essential to simulate the Extended Key operation.
- Execute operation of digging several blocks of the Extended key, and learn how to modify the location of the Bench Edge Features.
- Explore how to excavate several blocks using the dragline, which is excavating from a position on the Elevated Bench.
- See how to set up the dragline, which is excavating from the Elevated Bench position, to reach the edge of coal.
-
In this module, you will learn how to quickly change Excavation and Dump templates when you work with multiple templates. You will use various capture settings to set up and capture a series of images as you dig the final pass of a two-pass dragline operation. The simulation will include building an extended bench and casting to final spoil from this bench. This module ends by showing you how to organize and run a slide show using the set of captured images from your simulation.
- Learn the extended bench method with its multiple excavation and dump templates, and see its advantages in comparison with the previous Key Bridge method. Explore how the Arc Area Dump is used to simulate the formation of the extended bench.
- Look in more detail at using multiple Excavation and Dump templates in the simulation, and learn how a fast way to switch between these templates may considerably increase efficiency.
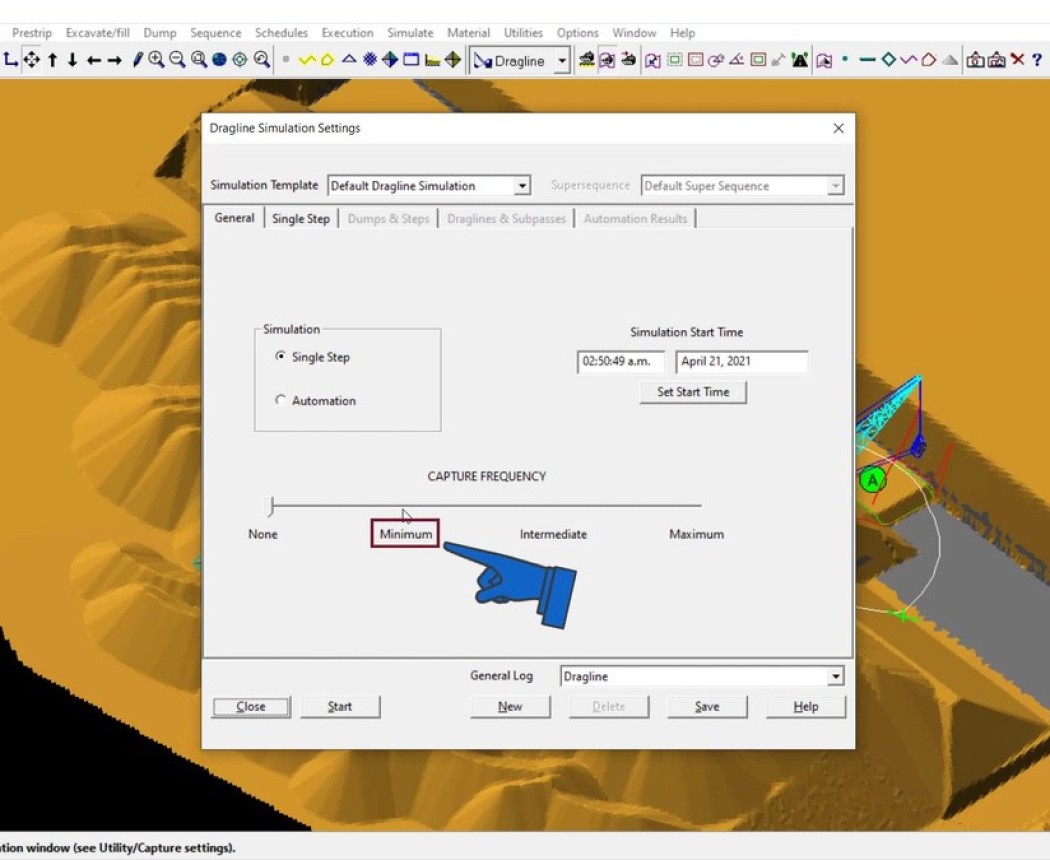
- Explore how to set up capture settings for the images captured while you simulate several blocks of the Low wall pass, and learn the initial steps of creating slideshows from the captured images.
- Make acquaintance with a method of quick change between dump templates and excavation templates by using hotkeys. You will see how helpful it may be during digging the first block and the highwall part of the block.
- See the effect of the "Animate Dragline" option and the "Capture Frequency" parameter on the captured images.
- Use the images that you captured during the simulations to organize and run a slideshow. You will also see how to import these images into "PowerPoint" to create a presentation.
-
The module shows you how to perform the full dozer Bench simulation while working with dragline simulation. You will be using a simplified method to simulate the bench dozing, which involves manual excavation and dumping in "Free" mode. Also, you will learn how to use manual image capture.
- See an overview of the way the dragline bench is created.
- Learn how to create the Dozer, to scale it and to place the new bulldozer on the topography.
- Set up a simplified method to simulate the bench dozing, which involves manual excavation and dumping in "Free" mode.
- Explore the method of working with manual image capture, and learn how to create a slide show.
- Perform a simulation of the first block dozing to form a bench, using the excavation and dump templates.
- Complete the dozer simulation of the Bench in "Free" mode, and see how to set up a Restore point before proceeding further with the dragline simulation.
-
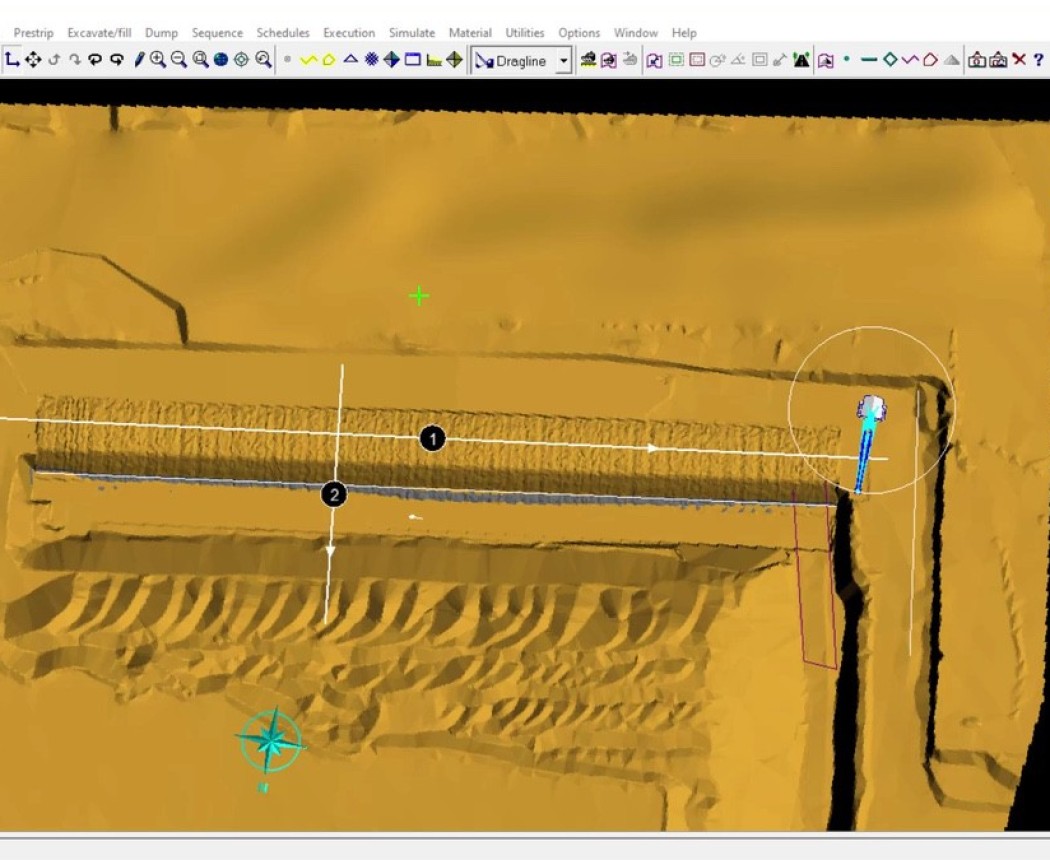
The module will show you how to excavate the complete pit using the key bridge method. A detailed demonstration will be given of the steps necessary to conduct a dragline simulation of the full pit, including each of three important segments: Ramp Split, Steady State and Egress. At the module's conclusion, you will learn how to create a suitable material log and to excavate coal, exposed at the pit floor as a result of the dragline simulation for the complete strip.
- Make acquaintance with the concept of excavating the complete pit using the key bridge method.
- Set up the "Capture Frequency" option, used for future image capturing, and then adjust materials logs, excavation and dump templates and set applied constraints, essential for the further simulation.
- Work with the Ramp Split segment: you may try to execute the ramp split for yourself, or use as guidance a lesson, where the entire procedure will be demonstrated in this lesson.
- Learn how to set up the steady state digging for the bulk of the pit to the point, where it is approaching the end wall.
- See how to use hot keys to work with two excavation templates.
- Execute the simulation of the final section of the pit and the dragline egress in the conditions of non-steady-state digging.
- Create a suitable material log and excavate the coal, exposed at the pit floor as a result of the previously executed dragline simulation.
-
In this module you will learn how to export planning data from the dragline simulation. Your export will include topographic and surface data, information in material logs, and dragline reports. You will see how to export some data directly to "Excel" while export of surface data will be in a format suitable for import into your mine planning system. You will also learn about cropping surfaces and exporting surface data in compressed formats.
- Get a brief overview of ways to export volumetric and topographic data from "3D-Dig".
- Take a closer look at exporting data from material logs, and learn how to export data directly from "3D-Dig" to "Microsoft Excel".
- Explore the selectable options used to export the dragline report to an "Excel" spreadsheet.
- Make acquaintance with a way to decrease the "DXF" file size prior to topological data export using the method of cropping surfaces.
- See a detailed procedure of exporting contours and grid points, as well as surface features and data features.
- Look briefly at exporting surface data using the Earth Technology Interchange (ETI) format, which can be used to quickly transfer multiple surfaces from a mine planning system into "3D-Dig" and vice versa.
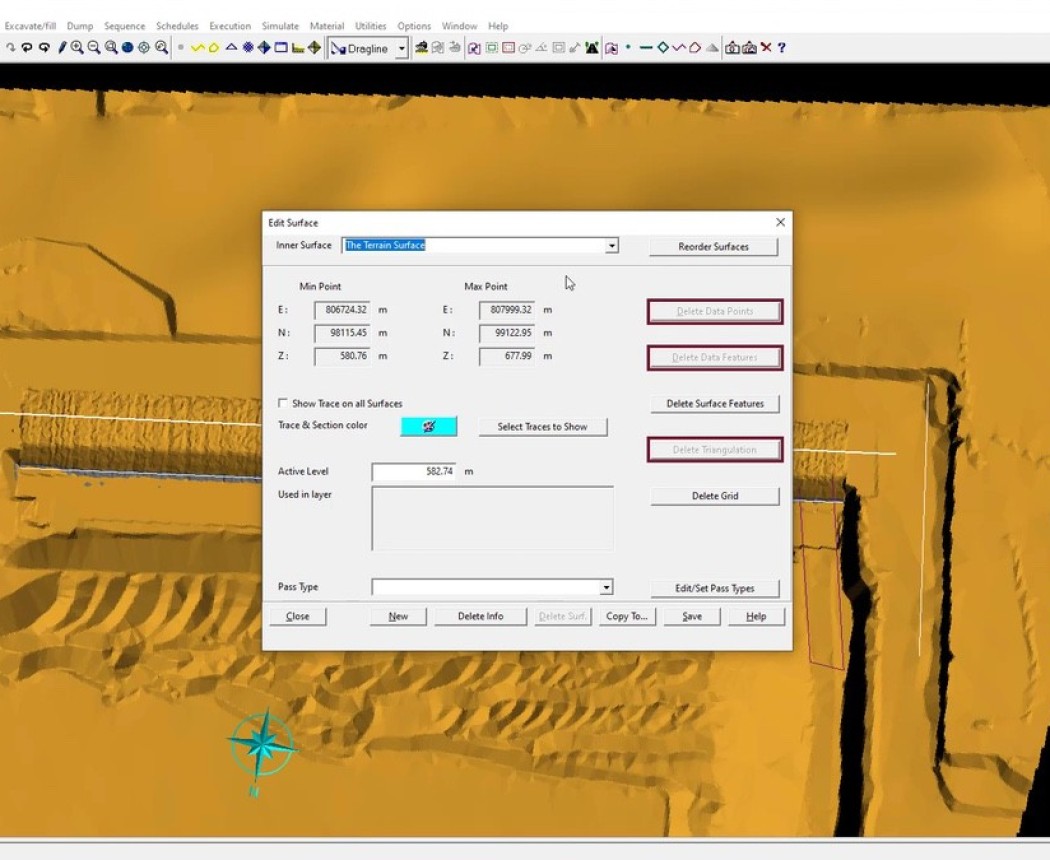
- Learn about the highly compressed "3D-Dig" internal "BIT" file format, which allows you to save the grid for the terrain surface, or for any inner surface.
-
In this module you will learn the principles and settings for simulation of dragline productivity. You will set up a productivity calculation and see how the calculated productivity changes when you reposition the dragline. In addition, you will learn how to export dragline productivity data from "3D-Dig" to a file or directly to "Excel". Finally, you will learn how to export dragline walk positions and visualize them through reimport into "3D-Dig".
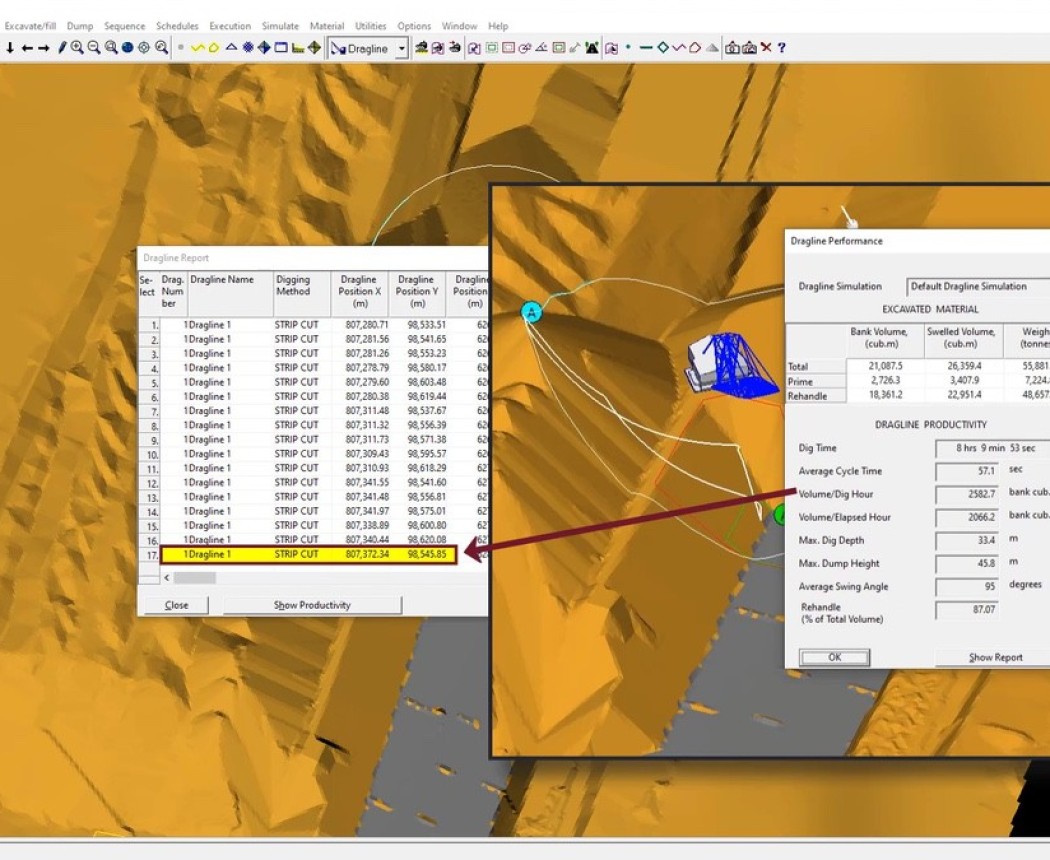
- Learn how to accurately predict dragline productivity by using the "3D-Dig" dragline model.
- Look closely at the parameters and settings used in the "3D-Dig" dragline productivity calculations.
- Explore the effect of dragline positioning on calculated productivity.
- See how to export productivity data from "3D-Dig" directly to an "Excel" spreadsheet.
- Get an overview of how to reimport the dragline positions into "3D-Dig" to create a visualization of the dragline positions during simulation.
-
The final module is an exam where you can test your knowledge of the concepts introduced in this course. Pass this exam with a 70% or better to receive your completion certificate.
